
Propagation
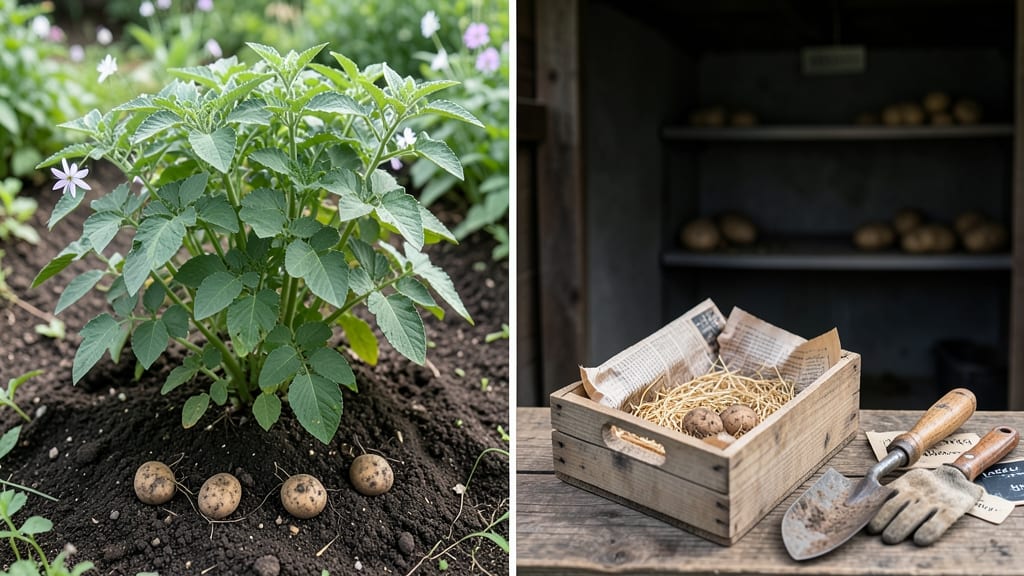
How to keep potatoes for seed starts with these little tubers. 🌱 Storing potatoes for seed isn't just about saving scraps—it's about selecting the right ones, curing them properly, and creating perfect conditions to wake up strong next spring. I've saved seed potatoes for three seasons now, and the difference between healthy starts and weak sprouts comes down to these key steps.
First, pick firm, disease-free potatoes with at least two eyes showing chits (tiny green sprouts). Cure them in a dark, cool spot for 2 weeks to toughen their skins, then move them to a 35-40°F storage area with high humidity and minimal light.
The goal is to keep them dormant but ready to sprout when you want them to.
By spring, you'll see strong, even chits ready for planting—no weak, leggy seedlings. The right storage method means your seed potatoes stay viable for 6-12 months, and you avoid the frustration of planting tubers that rot or sprout too early.
It's the difference between a thriving hill and a disappointment.
Common mistakes? Overcrowding tubers, storing them in light or temperature swings, or planting ones that've already sprouted too much. We'll cover all that—and how to check your potatoes' readiness—so you're planting with confidence next season.
📚 In This Guide
- What you need
- Instructions
- Tips and common mistakes
- Wrapping up and next steps
What you need
- ● Healthy seed potatoes: Choose disease-free, certified organic potatoes (3–5 lbs, depending on quantity needed). Avoid grocery-store potatoes—they’re often treated to prevent sprouting!
- ○ Egg cartons or seed trays: 1–2 cartons (for chitting) with drainage holes. Optional: Small pots or paper towels for alternative chitting methods.
- ● Sharp knife or pruning shears: For cutting potatoes into smaller pieces (if needed). Pro tip:✨ Sterilize with rubbing alcohol to prevent disease!
- ● Well-draining soil or compost: 1–2 gallons of light, airy mix (e.g., 50% potting soil + 50% perlite or vermiculite).
- ● Spray bottle: For misting soil (keeps it moist but not soggy).
- ○ Paper bags or breathable fabric sacks: 1–2 bags (10–15 gallons) for curing. Optional: Mesh bags for better airflow.
- ● Cool, dark storage space: A basement, garage, or root cellar (40–50°F / 4–10°C). Pro tip:🌡️ Avoid refrigeration—it turns starches to sugar!
- ● Labeling tags & marker: To track varieties (e.g., "Yukon Gold 2024").
- ● Hydrogen peroxide (3%): For soaking cut potatoes (10 mins) to prevent rot.
- ● Humidity tray: A shallow tray with pebbles to elevate egg cartons during chitting.
- ● Food-safe spray (e.g., neem oil or copper fungicide): For treating cuts or diseased spots.
- ● Digital thermometer/hygrometer: To monitor storage conditions like a pro!
Step-by-Step instructions for storing potatoes as seed stock
Here's how I save my best potatoes for planting next season—no fancy equipment needed.
🌱 Step 1: Select and Cure the Tubers
Choose your healthiest, disease-free potatoes from this year's harvest—the ones with the best shape, size, and flavor. Avoid any with soft spots, sprouts, or signs of rot. I like to pick medium-sized potatoes because they've had time to fully mature but aren't too large.
Place them in a cool, dark spot—like a basement or garage—where temperatures stay between 50-60°F for 2-3 weeks. This curing process thickens the skin and helps prevent future rot. The goal is to let the tubers heal any minor damage from harvesting.
🌿 Step 2: Induce Chitting (Sprout Formation)
After curing, move your potatoes to a bright, cool location (like a sunny windowsill or under grow lights) where temperatures stay between 40-50°F. This is where the magic happens—your potatoes will start growing tiny sprouts called "chits."
Place each potato with the rose end (the side with natural dimples where sprouts appear) facing up. I use egg cartons or small cardboard boxes to keep them organized and separate. Within 4-6 weeks, you should see 1-2 inch chits forming. These chits give your seed potatoes a head start when planting time comes.
⏰ Step 3: Store Properly Until Planting
Once your potatoes have developed good chits, store them in a dark, humid environment (like a paper bag or cardboard box) at 35-45°F. I keep mine in my refrigerator's crisper drawer, where the humidity stays high and temperatures remain steady.
Check your potatoes every 2-3 months to remove any that start to sprout excessively or show signs of rot. Healthy seed potatoes should remain firm with 1-3 inch chits by planting time. If stored correctly, they'll stay viable for 4-5 months—perfect for spring planting.
☀️ Step 4: Prepare for Planting Next Season
About 2-3 weeks before your last frost date, move your seed potatoes to a cooler location (around 50°F) to slow down sprout growth. This prevents them from getting too leggy before planting. When it's time to plant, simply place them in the soil with the chits facing up and 4-6 inches deep.
The chits will grow into strong stems almost immediately, giving your potato plants a 2-3 week head start over store-bought seed potatoes. You'll notice faster emergence and more vigorous early growth. Just be sure to plant them early enough so the chits don't get damaged by frost.
Tips & tricks for perfect potato seed storage
Real talk: These little details make the difference between seed potatoes that thrive and ones that rot before planting. I learned this the hard way after losing three batches—don't make my mistake!
Temperature Matters: The 50-60°F curing range in Step 1 is non-negotiable. Too warm and your potatoes will start sprouting prematurely; too cold and the skin won't toughen properly. I keep mine in an unheated garage where temps naturally stay in this range. If your space runs hotter, move them to a cooler corner or basement.
Chitting Organization: For Step 2, I've found that using egg cartons or small cardboard boxes isn't just about organization—it's about airflow. Packing potatoes too tightly creates humidity pockets that encourage rot. Leave about 1 inch between each potato and consider poking a few small holes in the container for ventilation. You'll notice healthier chits forming when you do this.
Humidity Hack: In Step 3, the refrigerator's crisper drawer works perfectly because of its built-in humidity control. If you don't have one, create your own by placing a shallow tray of water near your storage container. The evaporation will maintain that crucial moisture level. Just be sure to check weekly—you don't want standing water that could promote mold.
Chit Size Check: By planting time, you want chits between 1-3 inches long. If they get much longer than that, they'll be leggy and fragile when planted. About 2-3 weeks before your last frost date, move them to a cooler spot (around 50°F) to slow growth. This is where that 2-3 week window in Step 4 becomes critical—don't rush it!
Pro Tips for Keep Potatoes For Seed
- Real talk: These little details make the difference between seed potatoes that thrive and ones that rot before planting.
- Temperature Matters: The 50-60°F curing range in Step 1 is non-negotiable.
- Chitting Organization: For Step 2, I've found that using egg cartons or small cardboard boxes isn't just about organization—it's about airflow.
Frequently asked questions
Got questions about saving potato seeds? You’re not alone! Here are answers to the most common concerns—so you can stockpile those tubers like a pro and grow a killer crop next season.
How do I know if my potatoes are good for seed?
Look for certified disease-free potatoes with firm, unblemished skin and no signs of rot or sprouting. Store-bought potatoes (especially those treated to prevent sprouting) aren’t ideal—they may carry diseases or be genetically modified. Save seed from organic, heirloom, or homegrown varieties instead!
Can I save seed potatoes from the grocery store?
Technically yes, but it’s risky! Store-bought potatoes are often treated with sprout inhibitors (like chlorpropham) or may carry late blight or other pathogens. If you’re desperate, chit them first (place in a cool, light spot for 4–6 weeks) and inspect for disease. For best results, grow your own seed stock or buy certified disease-free tubers.
What’s the best way to store seed potatoes long-term?
Keep them in a cool (40–50°F), dark, humid (85–90% humidity) space—like a root cellar or basement. Store them in mesh bags or cardboard boxes (not plastic!) to allow airflow and prevent rot. Avoid refrigeration (below 40°F triggers sugar buildup, making them sweet and inedible).
How long can I store seed potatoes before they go bad?
With proper conditions, seed potatoes can last 4–6 months (some varieties even up to 8 months!). After that, sprout vigor declines, and disease risk rises. Test a few tubers monthly—if they’re soft, shriveled, or moldy, it’s time to plant or compost them. Don’t wait until spring!
What if my seed potatoes sprout too early?
Early sprouting (before planting) is normal! If sprouts are long and leggy, trim them back to ½-inch stubs and replant. For thick, stubby sprouts (ideal for planting), just leave them be. If stored too warm, sprouts may rot—adjust storage temps (cooler = slower sprouting) or plant sooner.
Why are my seed potatoes turning green or bitter?
Green patches mean exposure to light, which triggers solanine (a toxin). While not deadly in small amounts, it’s inedible and can harm plants. Store tubers in opaque containers and avoid bright light. If already green, peel affected areas before planting or compost them.
Can I use sweet potatoes as seed potatoes?
Nope! Sweet potatoes (Ipomoea batatas) and regular potatoes (Solanum tuberosum) are completely different plants. Sweet potato slips (sprouts) can be rooted in water, but they won’t produce edible tubers if planted directly. Stick to russet, Yukon Gold, or fingerling varieties for seed saving!
Wrapping up and next steps
Keeping potatoes for seed is all about patience, care, and a little know-how! By chitting your tubers early and curing them properly, you’ll set the stage for a thriving harvest next season. Remember, healthy seed potatoes mean stronger plants, bigger yields, and fewer surprises in the garden. 🌱
Now that you’re armed with these tips, it’s time to put them into action. Grab those spuds, follow the steps, and get ready to grow potatoes that’ll make your neighbors green with envy! Happy gardening! 🌟