
Container Gardens
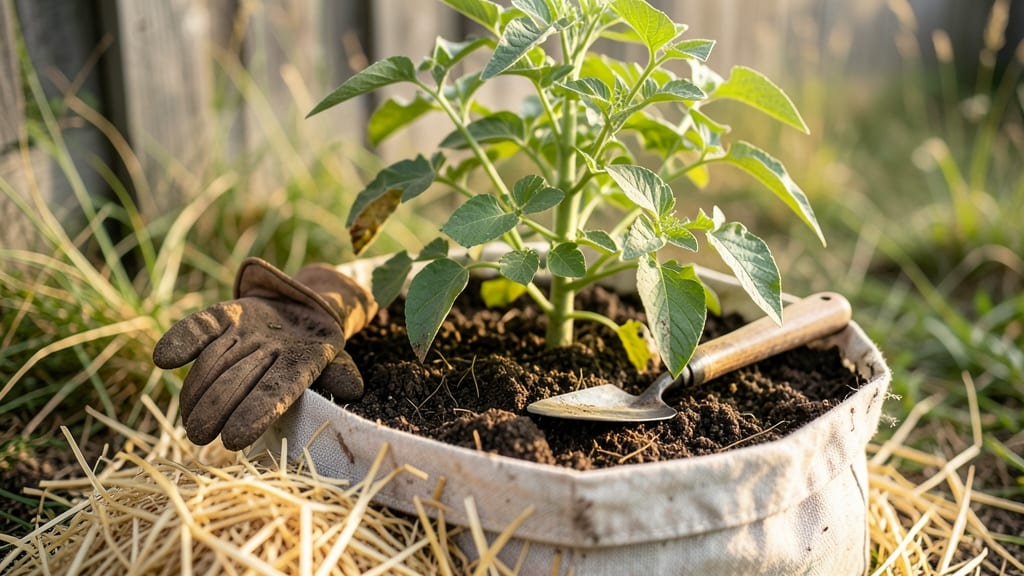
Hilling potatoes in containers doubles your harvest in tight spaces. ✨ After years of struggling with stunted tubers in small pots, I discovered this simple technique that turns a 5-gallon container into a potato powerhouse—no yard required.
The magic happens when you gradually mound soil around the stems as they grow, encouraging more tuber formation underground. Most gardeners skip this step, but it’s the secret to plump, disease-resistant potatoes that fill their containers instead of just the bottom layer.
You’ll need a deep container (at least 12 inches), loose soil, and patience—about 3-4 hilling sessions over 6-8 weeks. By harvest time, you’ll pull up potatoes that rival in-ground yields, all from a space smaller than a microwave.
The key is timing: hill when foliage reaches 6 inches, then repeat every 2-3 weeks until flowering begins. Too much soil too soon? Roots smother. Too little? You’re leaving harvest potential on the table. This method works for any potato variety, from fingerlings to russets, and even adapts to balconies.
Here’s exactly how to do it without the guesswork—no green thumbs required.
📚 In This Guide
- What you need
- Instructions
- Tips and common mistakes
- Wrapping up and next steps
What you need
- ● Container: A deep pot (12–18 inches deep) or grow bag (at least 5 gallons for 1–2 plants, or larger for more yield). Tip: Drill drainage holes if using a non-porous pot!
- ● Potato seeds: Certified disease-free seed potatoes (not grocery store spuds!). Aim for 1–2 per container (or 1 per 5 gallons).
- ● Potting mix: Lightweight, well-draining soil mix (avoid garden soil—it compacts!). A 50/50 blend of potting soil and compost works great.
- ● Organic fertilizer: A balanced, slow-release fertilizer (e.g., 10-10-10) or compost tea to boost growth.
- ● Hand trowel or small shovel (for hilling)
- ● Gloves (to keep hands clean and protect from prickly sprouts)
- ● Watering can with a gentle spray nozzle (avoid over-saturating soil)
- ● Measuring cup (for fertilizer doses)
- ● Mulch (straw or grass clippings) to retain moisture and suppress weeds
- ● Plant markers (to track varieties if growing multiple types)
- ● Row cover or shade cloth (for early planting or pest protection)
- ● Garden twine (to secure containers in windy spots)
Step-by-step instructions for hill potatoes in containers
This method transforms small spaces into high-yield potato gardens—here's how I do it every season.
🪴 Step 1: Choose and Prepare the Right Container
Select a container that's at least 12 inches deep and wide enough to accommodate 4-5 potato plants spaced 6 inches apart. I prefer fabric grow bags because they allow roots to breathe and prevent waterlogging, but any sturdy plastic or wood container with drainage holes works too. Drill extra holes if needed—potatoes hate soggy feet.
Fill the bottom third with 2-3 inches of coarse material like gravel or broken pottery to improve drainage. This prevents rot and mimics the loose soil potatoes love. Then add 4-6 inches of high-quality potting mix enriched with compost. The goal is loose, well-draining soil that won't compact as you hill.
🌱 Step 2: Plant Seed Potatoes at Proper Depth and Spacing
Use certified seed potatoes (not grocery store potatoes) and cut them into pieces with at least 2-3 eyes each, letting the cut ends heal for 1-2 days before planting. This speeds up sprouting and ensures multiple stems. Plant each piece with the eyes facing upward, 4-6 inches deep in the container.
Space the pieces 6 inches apart in rows or clusters, depending on your container shape. For a round container, arrange them in a circle. Water gently after planting until the soil feels moist 2 inches down. Don't soak it—you want the soil damp, not waterlogged. This initial watering helps the cut ends establish roots before shoots appear.
💧 Step 3: Water and Wait for Sprouts
Keep the soil consistently moist but never soggy until green shoots appear, which typically takes 2-3 weeks in 60-70°F soil. You'll notice tiny green tips breaking through the soil first. This is your signal to start hilling. Water deeply every 3-4 days until you see the first leaves—then reduce to once weekly once established.
Here's the thing—if you water too frequently now, you'll encourage leafy growth at the expense of tuber development. The goal is strong stems that can support the hilling process. Watch for wilting leaves as a sign you've watered enough; they perk up within an hour if moisture is right.
✂️ Step 4: Hill Potatoes as Stems Grow
When the stems reach 6 inches tall, it's time for the first hilling. Gently mound soil around the base of the plant up to the first set of leaves, leaving just the top 2-3 inches exposed. Use the same potting mix you started with—no need for fresh soil. This encourages more tuber formation along the buried stem.
Repeat the hilling process every 2-3 weeks until the container is full or the stems reach the rim. Each time, mound soil up to the newest set of leaves. You'll see the stems grow taller and stronger with each hilling, and the container will look like a small hillock. This method creates multiple layers of tubers rather than just one cluster at the bottom.
☀️ Step 5: Maintain Through Harvest Season
Move the container to a spot with full sun (6+ hours daily)—potatoes need plenty of light to produce energy for tuber growth. If your container is in partial shade, expect smaller yields. Water deeply once weekly during dry spells, letting the top 1 inch of soil dry out between waterings. Overwatering now leads to rot, especially as the container fills with soil.
Stop hilling when the container is full or when the stems reach the rim. At this point, the plant is ready to focus all its energy on tuber development. You'll know harvest time is near when the foliage yellows and dies back naturally. This usually happens 2-3 weeks after flowering, but timing varies by variety.
Tips & tricks for perfect container-grown hill potatoes
Between us, container potatoes are one of the most rewarding gardening hacks for small spaces—once you master these key details.
Container Selection: Fabric grow bags are my go-to because they prevent root circling and allow roots to breathe, but if you're using rigid containers, drill drainage holes along the bottom AND sides. I've ruined three batches by skipping this step—potatoes in soggy soil turn to mush. For extra insurance, add a layer of landscape fabric over the drainage material to prevent soil from washing out during watering.
Soil Temperature Matters: The instructions mention 60-70°F soil temperature for sprouting, but here's the thing—I've found that if your soil stays below 60°F for more than a week, sprouting slows dramatically. Use a soil thermometer to check, and if needed, move your container to a warmer spot like near a south-facing window or under a heat mat during cool mornings. Warm soil = faster, healthier sprouts.
Hilling Technique: When you're hilling in Step 4, don't just pile soil randomly—create a gentle slope around the stems. This prevents soil from compacting against the plant and gives tubers more room to form. I like to use a small hand shovel to create channels between plants before adding soil, which also improves drainage between the mounds.
Harvest Timing: The 2-3 weeks after flowering is a good guideline, but here's what nobody tells you—some varieties like Yukon Golds are ready when the foliage starts yellowing, while others like red potatoes can wait until the leaves completely die back. For container-grown potatoes, I always harvest when the stems turn brown and crispy, even if leaves are still green. This prevents tubers from absorbing too much starch from the dying foliage.
Pro Tips for Hill Potatoes In A Container
- Between us, container potatoes are one of the most rewarding gardening hacks for small spaces—once you master these k...
- Container Selection: Fabric grow bags are my go-to because they prevent root circling and allow roots to breathe, but...
- Soil Temperature Matters: The instructions mention 60-70°F soil temperature for sprouting, but here's the thing—I've ...
Frequently asked questions
Got questions about hilling potatoes in containers? You’re not alone—this method has its quirks! Here are answers to the most common queries to help you grow like a pro.
Why do potatoes need hilling in containers?
Hilling (adding soil around stems) encourages more tuber development by blocking light, which prevents the plant from growing taller and instead focuses energy on producing potatoes underground. Without hilling, you’ll miss out on a big portion of your harvest!
How often should I hill potatoes in containers?
Hill potatoes every 2–3 weeks until the container is nearly full. Stop when the soil reaches the rim—this prevents spills and ensures the plant isn’t overwhelmed. Aim for 3–4 hillings total for best results.
Can I use regular potting soil for hilling?
Yes! A light, well-draining mix (like a blend of potting soil and compost) works best. Avoid heavy garden soil—it compacts easily and can suffocate roots. If you’re short on mix, top with straw or grass clippings to retain moisture.
What if my potatoes turn green or sprouts grow above the soil?
Green potatoes contain solanine, a toxin that’s harmful if eaten raw. If this happens, cover exposed stems with soil immediately. For sprouts above the rim, trim them off—this redirects energy back to tuber growth.
How deep should my container be for hilling potatoes?
Aim for at least 12–18 inches deep (or deeper if possible). Shallower containers limit tuber growth. If you’re using a 5-gallon bucket, expect smaller yields—opt for wider, deeper bins (like 10+ gallons) for bigger harvests.
Do I need to adjust watering after hilling?
Keep soil consistently moist but not soggy. Hilling can disrupt drainage, so water gently after each session. Mulch with straw to retain moisture and prevent crusting. Overwatering leads to rot—always check soil 1–2 inches down!
Wrapping up and next steps
Hilling potatoes in containers is a game-changer for small-space gardeners—it’s simple, efficient, and yields abundant, healthy tubers without taking up precious yard room. 🌱 With the right setup, a little patience, and these easy steps, you’ll soon be harvesting homegrown spuds straight from your balcony, patio, or windowsill.
The best part? You’re not just saving space; you’re also growing organic, fresh produce with minimal effort.
Now that you’re ready to dig in (literally!), why not take the next step? Try experimenting with different potato varieties or even pair your container garden with other space-saving crops like lettuce or herbs. Happy growing—your future meals (and Instagram-worthy harvests) will thank you! 🥔✨