
Propagation
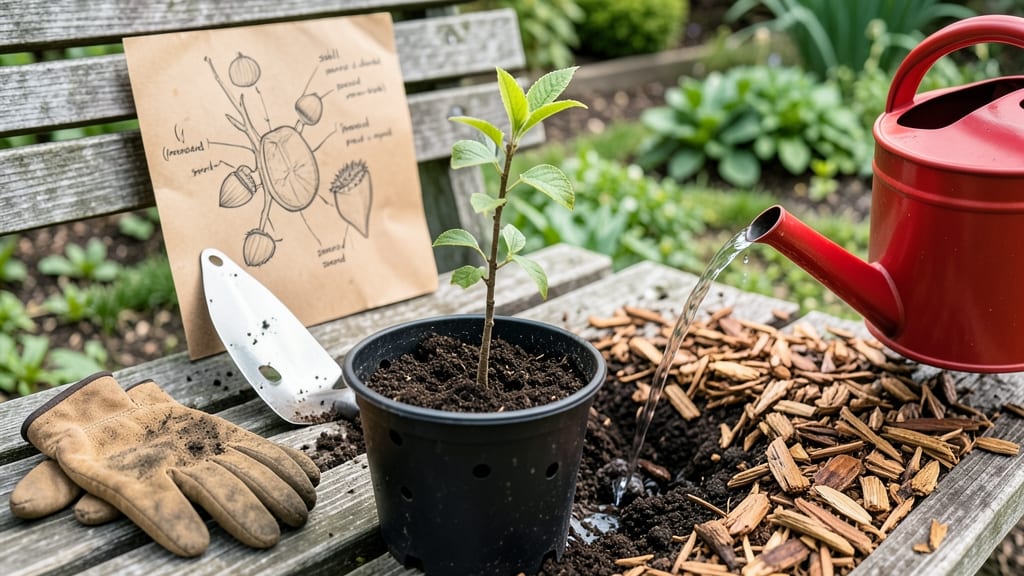
How to grow a hazelnut tree from a nut unlocks a forest of possibilities in your backyard. 🌱 I’ve watched store-bought nuts sprout into sturdy seedlings after just three months of winter-like treatment—no fancy equipment needed. The key? Mimicking nature’s slow, cold prep that breaks dormancy and triggers germination.
Start with fresh, plump hazelnuts (store-bought works) and a damp paper towel or peat moss. Seal them in a zip-top bag, then refrigerate for 8-12 weeks, checking monthly for mold. Once sprouted, plant 1-2 inches deep in well-draining soil, either in pots or directly outdoors after last frost.
Patience pays off—seedlings take 3-5 years to bear nuts, but the wait rewards you with shade, wildlife habitat, and harvests for decades.
Sunlight is non-negotiable: 6+ hours daily keeps seedlings strong, while consistent moisture (but never soggy) prevents rot. Mulch helps retain moisture and mimics forest floor conditions. Troubleshooting? Slow sprouts? Try a warmer spot—hazelnuts need warmth after stratification. Rot? Drainage is your friend: raise pots or amend heavy soil with sand.
This method works for both European (Corylus avellana) and American (C. americana) varieties. For faster results, plant multiple nuts—some may germinate sooner.
The first year focuses on root growth; by year two, you’ll see 3-4 foot shoots. Think of it as planting a legacy, not just a tree.
📚 In This Guide
- What you need
- Instructions
- Tips and common mistakes
- Wrapping up and next steps
What you need
- ● Fresh hazelnuts: 3–5 high-quality, undamaged nuts (preferably from a local source for better adaptation). Pro tip: 💡 Choose plump, firm nuts—they’re more likely to sprout!
- ● Cold stratification supplies: Paper towels or dampened peat moss (enough to fully cover the nuts)
- ● A sealed plastic bag or airtight container (like a ziplock)
- ● Refrigerator space (or a cold, dark spot like a basement, ~33–41°F / 0–5°C)
- ● Planting containers: Small pots (4–6 inches deep) with drainage holes
- ● Well-draining potting mix (avoid heavy clay soil)
- ● Growing environment: Sunlight: A bright, indirect light source (or a sunny windowsill)
- ○ Warmth: A heat mat (optional) to maintain soil temps above 60°F (15°C) during germination
- ● Spray bottle (for gentle watering)
- ● Humidity dome or clear plastic wrap (to retain moisture)
- ● Soil thermometer (to monitor stratification temps)
- ● Fertilizer (balanced, low-nitrogen mix for young seedlings)
- ● Outdoor garden space (for transplanting after 1–2 years)
Step-by-step instructions for growing hazelnut trees from nuts
Cold stratification is the secret to breaking dormancy—here’s how to coax hazelnuts into sprouting reliably.
🌱 Step 1: Select and Prepare Fresh, Plump Nuts
Choose fresh, plump hazelnuts that feel heavy for their size—these hold the best germination potential. Avoid any with cracks or soft spots, as they’re prone to mold. I like to gather nuts in late fall after they’ve fallen naturally, but store-bought nuts work too if they’re still firm.
Remove any remaining husks and clean the nuts thoroughly with a damp cloth. Let them air-dry completely for 24 hours before stratification. This prevents moisture buildup, which can rot the nuts before they even sprout. Place them in a single layer on a paper towel in a warm, dry spot while they dry.
❄️ Step 2: Cold Stratify for 3-4 Months
Hazelnuts require 90-120 days of cold stratification to mimic winter conditions and break dormancy. Fill a plastic bag with damp (not soggy) peat moss or sand, then place the nuts inside. Seal the bag loosely—just enough to keep the mix moist but allow airflow.
Store the bag in your refrigerator’s crisper drawer, where temperatures stay consistently between 35-45°F. Check the mix every 2-3 weeks—it should feel like a wrung-out sponge. If it dries out, mist it lightly. This cold period is critical; without it, most nuts will refuse to sprout.
🌱 Step 3: Plant Stratified Nuts in Pots
After stratification, fill 4-inch pots with a mix of 50% potting soil and 50% perlite for drainage. Plant each nut 1 inch deep, with the pointed end facing upward. I use small biodegradable pots to avoid disturbing roots later. Gently firm the soil around the nut to eliminate air pockets.
Place the pots in a bright, indirect light spot—like a north-facing window or under grow lights. Keep the soil consistently moist but never waterlogged. You’ll see sprouts in 4-8 weeks, though some may take longer. Patience is key here; don’t dig up the pot to check for progress.
☀️ Step 4: Transplant Seedlings Outdoors After Last Frost
Once seedlings reach 4-6 inches tall and have 2-3 sets of true leaves, they’re ready for outdoor transplanting. Choose a location with full sun to partial shade and well-draining soil. Hazelnuts thrive in slightly acidic soil (pH 6.0-7.0), so amend clay soil with compost.
Dig a hole twice as wide as the root ball but only as deep as the pot. Gently remove the seedling, tease the roots if they’re circling, and place it in the hole. Backfill with soil, water deeply, and add a 2-inch layer of mulch to retain moisture. Young trees need consistent watering—about 1 inch per week—until established.
✂️ Step 5: Prune and Protect Young Trees
In their first year, focus on removing any dead, crossing, or weak branches to encourage a strong structure. Hazelnuts are sensitive to late frosts, so I wrap the trunks of young trees with tree guards in winter. Also, watch for pests like squirrels—they love fresh hazelnuts and may dig them up.
By year three, you’ll see male and female flowers (if your tree is self-fertile). Male flowers look like tassels, while female flowers resemble tiny red catkins. If you planted multiple nuts, ensure at least one male tree is nearby for pollination. With proper care, your tree could produce nuts in 5-7 years.
Tips & tricks for perfect hazelnut tree sprouting
These practical insights will help you navigate the quirks of growing hazelnut trees from nuts—because even the best-laid plans need a little troubleshooting.
Selection Tip: When choosing hazelnuts, look for those that feel dense and heavy for their size—this indicates high moisture content and better germination potential. I’ve found that nuts gathered in late fall (after they’ve naturally dropped) tend to sprout more reliably than store-bought varieties, which may have been dried or processed. If you’re using store-bought nuts, soak them in warm water for 24 hours first to rehydrate them before starting the drying process.
Stratification Secret: The 90-120 day cold stratification period is non-negotiable for hazelnuts, but consistency is key. I recommend placing your sealed bag of nuts and damp peat moss in the refrigerator’s crisper drawer, where temperatures stay steady between 35-45°F. If your fridge fluctuates, consider using a small cooler with an ice pack and a thermometer to maintain precise conditions. This mimics natural winter conditions and breaks dormancy effectively.
Planting Technique: When planting your stratified nuts in 4-inch pots, pay attention to the soil mix—equal parts potting soil and perlite ensures proper drainage while retaining moisture. I’ve had the best success planting nuts with the pointed end facing upward, as this is where the root will emerge. After planting, gently press the soil around the nut to eliminate air pockets, which can prevent proper root development.
Patience Payoff: The 4-8 week window for sprouting can feel like an eternity, but resist the urge to check on your pots too frequently. Disturbing the soil can disrupt root formation. Instead, place your pots in a bright, indirect light spot and maintain consistent moisture. You’ll know you’re on the right track when you see the first signs of green—typically a small shoot emerging from the soil.
Pro Tips for Grow A Hazelnut Tree From A Nut
- These practical insights will help you navigate the quirks of growing hazelnut trees from nuts—because even the best-laid plans need a little troubleshooting.
- Selection Tip: When choosing hazelnuts, look for those that feel dense and heavy for their size—this indicates high moisture content and better germination potential.
- Stratification Secret: The 90-120 day cold stratification period is non-negotiable for hazelnuts, but consistency is key.
Frequently asked questions
Got questions about growing hazelnut trees from nuts? You’re not alone—here are some of the most common ones, answered for clarity and confidence!
How long does cold stratification take for hazelnut nuts?
Cold stratification typically requires 60–90 days in a moist medium (like peat moss or a damp paper towel) at 35–45°F (2–7°C). Place them in a sealed bag in your fridge for consistent results. Patience is key—rushing this step can lead to poor or uneven germination.
How long does it take for a hazelnut tree to produce nuts?
Hazelnut trees grown from nuts are slow starters! Expect 5–10 years before your tree bears its first harvest, depending on the variety and growing conditions. Dwarf or grafted trees may fruit sooner (3–5 years), but seed-grown trees take longer.
Can I grow a hazelnut tree indoors?
While you can start the nut indoors (e.g., in a pot with well-draining soil), hazelnut trees need outdoor space to thrive. They’re large shrubs or small trees (10–20 ft tall) and require full sun, cold winters, and deep roots. Move seedlings outside as soon as possible.
Why aren’t my hazelnut nuts sprouting after stratification?
Check these common issues:
- Improper moisture: Nuts must stay damp but not soggy—mold or rot can kill them.
- Incomplete stratification: Double-check the time (minimum 60 days) and temperature.
- Old or low-quality nuts: Use fresh, plump nuts from a reputable source.
- Patience: Some nuts take up to 3 months to sprout—don’t give up too soon!
What’s the best way to transplant a young hazelnut seedling?
Transplant seedlings in early spring when soil is workable but not frozen. Dig a hole twice as wide as the root ball, mix in compost, and water thoroughly. Keep the soil moist for 2–3 weeks post-transplant to reduce shock. Avoid moving them in summer or winter.
Wrapping up and next steps
Growing a hazelnut tree from a nut is a rewarding journey that combines patience with nature’s magic! 🌱 By following these steps—selecting healthy nuts, cold-stratifying for dormancy, and nurturing seedlings—you’ll unlock the potential for a thriving tree in your garden.
Whether you’re aiming for shade, wildlife support, or future harvests, every effort you put in today will bloom into something beautiful tomorrow.
Ready to take the next step? Plant your first hazelnut seedling this spring and watch it grow into a sturdy tree. Need extra guidance? Explore local climate tips or join gardening forums to connect with fellow nut-growers!