
Propagation
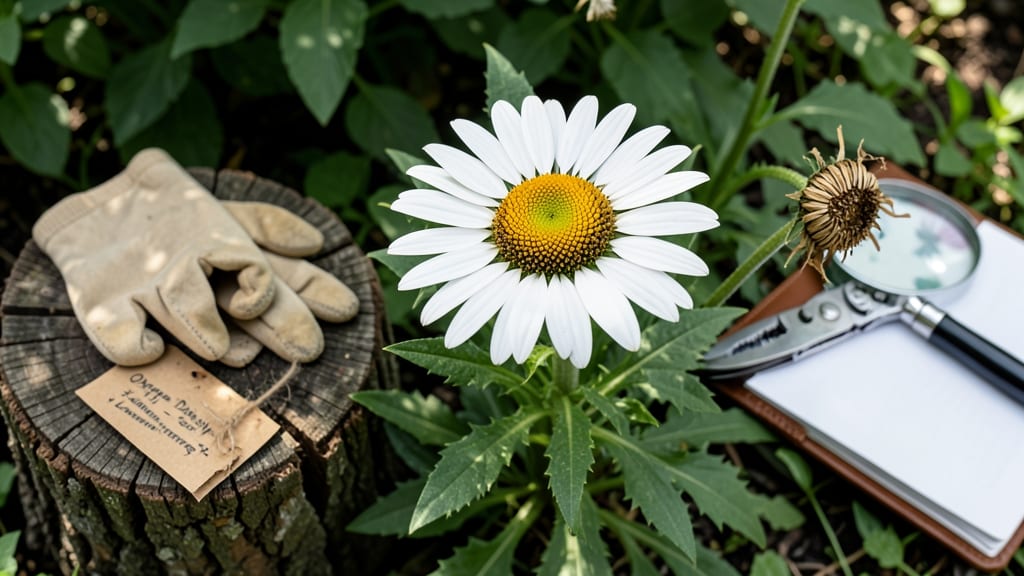
Here’s how to get seeds from daisies—just listen to what their seed heads are saying. 🌻 The perfect time to harvest is when the petals fade and the center turns fluffy brown, usually late summer to early fall.
This simple process turns your garden's beauty into next year's free plants, and it's easier than you think.
All you'll need is a pair of scissors, a paper bag, and patience. Cut the seed heads when they're dry but before they scatter—birds and wind are always watching.
Once inside, let them finish drying on a tray for a week or two, then gently rub the heads to release the tiny seeds.
You'll end up with enough seeds to fill small pots or scatter directly in garden beds next spring. The first sprouts appear in 7-14 days, and you'll have lush daisies blooming by midsummer—all from seeds you harvested yourself.
This method works for any daisy variety, from classic white to bold reds. The key is timing: too early and the seeds aren't ready, too late and they're already gone. Store your saved seeds in a cool, dry place for up to two years—nature's way of recycling beauty.
📚 In This Guide
- What you need
- Instructions
- Tips and common mistakes
- Wrapping up and next steps
What you need
- ● Mature daisy plants – Choose healthy, fully bloomed daisies (preferably Oxeye Daisy, Shasta Daisy, or African Daisy for best seed yield). Aim for at least 3-5 plants to ensure a good harvest.
- ● Scissors or pruning shears – Sharp, clean tools to snip seed heads without damaging the plant. (Avoid dull blades—they crush seeds!)
- ● Paper bags or breathable mesh bags – 3-5 bags, sized to fit seed heads (8x10 inches works well). Brown paper lunch bags or seed-saving bags are perfect!
- ● Drying tray or cardboard box – A flat, clean surface to lay out seed heads for drying. (A cookie sheet or old pizza box works in a pinch!)
- ● Newspaper or parchment paper – For lining your drying tray to catch loose seeds and debris.
- ● Fine-mesh strainer or sieve – To separate seeds from chaff once dried. ¼-inch mesh size is ideal.
- ● Small envelopes or glass jars – For storing seeds long-term. Label them! (Use 4-6 jars/envelopes if harvesting from multiple plants.)
- ● Permanent marker – To label seed varieties and harvest dates.
- ● Desiccant packets – Place one in seed storage jars to absorb moisture and extend shelf life.
- ● Hand lens or magnifying glass – For inspecting seeds for pests or damage before storage.
- ● Spray bottle with water – To gently clean seed heads if they’re dusty or dirty before drying.
- ● Seed catalog or notebook – To track daisy varieties, germination rates, and growing notes for future reference.
Step-by-Step instructions for harvesting daisy seeds
Here's the simple method I use to collect daisy seeds with perfect timing every year.
🌿 Step 1: Identify Mature Daisy Seed Heads
Wait until the daisy flowers have completely faded and turned brown—this signals the seed heads are fully mature. The center disk will look dry and papery, with tiny brown seeds visible. I like to check in late summer or early fall when the blooms have finished for the season.
Gently run your fingers over the dried flower head—if the seeds release easily when touched, they're ready for harvesting. If they're still green or moist, wait a few more days. The best time to collect is on a dry, sunny morning when the seeds are least likely to be damp.
🪴 Step 2: Prepare Your Harvesting Tools
You won't need much—just a clean pair of scissors or pruning shears and a paper bag or envelope for storage. I prefer using brown paper bags because they let me see the seeds inside without light blocking them. Avoid plastic bags as they trap moisture and can cause seeds to spoil.
Cut the seed heads at the base of the stem, leaving about 1 inch of stem attached. This makes it easier to handle and prevents seeds from falling out prematurely. Place the cut seed heads in your paper bag immediately to prevent seeds from scattering in the wind.
🌱 Step 3: Dry and Separate the Seeds
Spread the seed heads out on a clean, dry surface like a baking sheet or cardboard box. Let them dry for another 2-3 days in a warm, dry place away from direct sunlight. This extra drying ensures any remaining moisture evaporates, making the seeds easier to handle and store.
Once completely dry, gently rub the seed heads between your hands or use a fork to break them apart. The seeds will fall out while the dry stems and chaff remain behind. I like to do this over a clean sheet of newspaper or paper towel to make cleanup easier. Sift through the debris to collect only the clean, brown seeds.
⏰ Step 4: Store Seeds Properly for Next Year
Place the collected seeds in a labeled envelope or small paper bag. I always write the date and daisy variety on the bag so I remember what I've collected. Store the seeds in a cool, dry place like a seed drawer or airtight container in your refrigerator.
Daisy seeds can stay viable for 1-2 years if stored properly, but I like to plant them as soon as possible for the best germination rates. Check the seeds periodically to ensure they remain dry and free from moisture or pests.
💧 Step 5: Test Germination Before Planting
Before planting, I always do a quick germination test to ensure the seeds are still viable. Place 10 seeds between two damp paper towels in a sealed plastic bag. Keep them in a warm, dark place for 7-10 days, checking occasionally to ensure they stay moist but not soggy.
If most of the seeds sprout within that time, they're ready for planting. If fewer than half sprout, you may want to collect more seeds or consider buying fresh ones. This simple test saves time and ensures you don't waste effort planting seeds that might not grow.
Tips & tricks for perfect daisy seed harvesting
Here's what nobody tells you about making this process foolproof every single time.
Timing Secret: The key to harvesting daisy seeds is patience—don't rush it! I've learned the hard way that waiting until the seed heads are completely brown and dry (not just fading) makes all the difference. If you pick them too early, the seeds won't be fully mature and may not germinate well. Look for that papery, dry texture in Step 1—it's your green light to harvest.
Tool Upgrade: While scissors work fine, I've found that using clean, sharp pruning shears makes cutting through tough stems much easier. For extra efficiency, place a large cardboard box or bucket underneath your harvesting area to catch any seeds that might fall during cutting. This saves time and frustration when you're collecting seeds from multiple plants.
Drying Wisdom: The extra 2-3 days of drying in Step 3 is crucial—don't skip it! I've had seeds stick together or mold when I tried to rush this step. Spread them out on a baking sheet and place it in a warm, dry spot like a sunny windowsill (but not in direct sunlight). This prevents moisture buildup while ensuring complete dryness. A fan on low can help speed up the process if you're short on time.
Separation Hack: For easier seed separation, try placing the dry seed heads in a clean pillowcase and gently shaking or rolling it. The seeds will fall out while the stems stay trapped in the fabric. This method saves you from sifting through debris and makes cleanup a breeze. I've collected nearly twice as many seeds using this trick compared to hand-rubbing!
Pro Tips for Get Seeds From Daisies
- Here's what nobody tells you about making this process foolproof every single time.
- Timing Secret: The key to harvesting daisy seeds is patience—don't rush it! I've learned the hard way that waiting un...
- Tool Upgrade: While scissors work fine, I've found that using clean, sharp pruning shears makes cutting through tough...
Frequently asked questions
about harvesting daisy seeds—because even the easiest tasks have a few curveballs! Here’s what you need to know before you start.When is the best time to collect daisy seeds?
The ideal time is when the daisy flowers have fully wilted and turned into brown, papery seed heads—usually late summer to early fall. Wait until the center fluff dries out completely; if it’s still green or moist, the seeds aren’t ready yet!
What if my daisies don’t produce seeds?
If your daisies aren’t flowering, check for over-fertilization (too much nitrogen = lush leaves, no blooms) or poor sunlight (they need full sun, 6+ hours/day). Deadhead spent blooms too early? That can also stunt seed production. Try leaving a few flowers to mature naturally!
Can I save seeds from store-bought daisies?
Generally, yes—but with a caveat! Store-bought daisies (especially hybrids like Gerbera) may not grow true from seed. For reliable results, stick to heirloom or native daisies (like Oxeye Daisy) labeled as open-pollinated. Always check the plant tag!
How long do daisy seeds stay viable for storage?
Daisy seeds typically stay viable for 1–2 years if stored properly in a cool, dry place (like a sealed envelope in the fridge). For longer storage, add a desiccant packet to prevent moisture. Test a few seeds annually to check viability!
Will saving daisy seeds attract pests or weeds?
Not usually! Daisy seeds are lightweight and disperse easily, but leaving spent blooms can attract birds or squirrels who might snack on them. If pests are an issue, collect seeds promptly and clean up debris afterward. Daisies themselves aren’t invasive—just let them self-seed in one spot!
Wrapping up and next steps
Getting seeds from daisies is a simple and rewarding process that lets you grow new blooms for free! With just a little patience and the right timing—late summer to early fall—you can harvest seeds effortlessly.
Whether you’re saving them for next year’s garden or sharing with fellow plant lovers, your newfound skills will make propagation a breeze.
Now that you’re ready to harvest, why not plant those seeds right away? Try sowing them in pots or directly in your garden bed for a head start on next season’s cheerful daisies. Happy gardening! 🌼✨