
Companion Plants
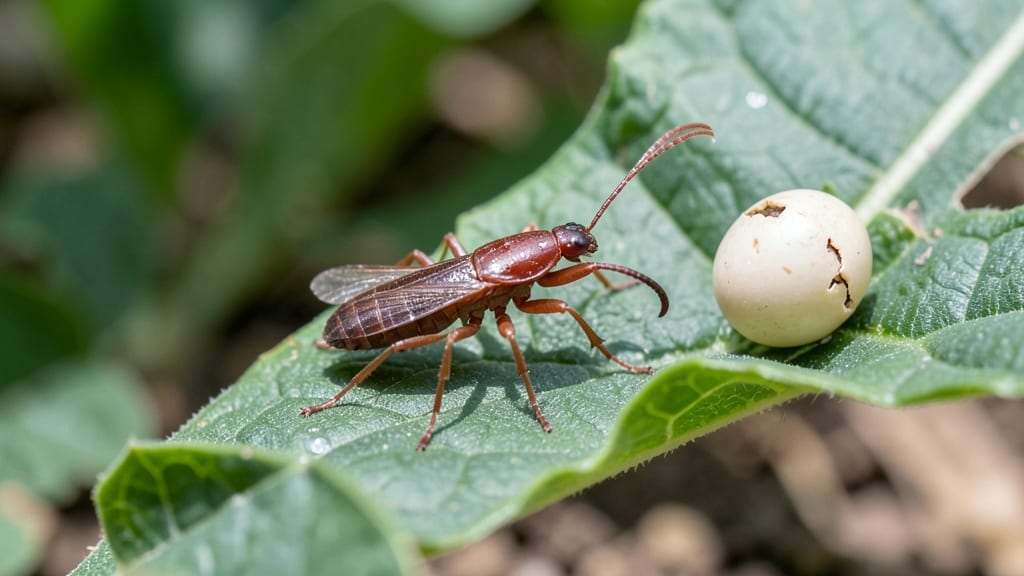
How to get rid of earwigs on plants—before they turn your garden into a crunchy buffet overnight. 🌿 These armored pests chew leaves, flowers, and even young seedlings, leaving jagged holes that scream "invasion." I've battled them for years—until I discovered the fastest natural barriers that smother their hiding spots and send them packing within 48 hours. The secret isn't fancy sprays—it's physical disruption. Earwigs love dark, damp corners, so I flip over pots, remove mulch piles, and install copper tape barriers around garden beds. They hate the feel of copper, and it creates a no-go zone they can't cross. Add diatomaceous earth around plants, and you've got a gritty trap that dehydrates them instantly. You'll see results immediately—fewer holes in leaves, no more curled petals, and earwigs retreating to the edges of your yard. The best part? These methods work for vegetables, flowers, and even houseplants without harming beneficial insects. Here's the kicker: prevention is easier than cleanup. Keep your garden tidy, use gravel mulch instead of organic, and plant garlic and mint nearby—their strong scents repel earwigs naturally. No more midnight raids on your prized tomatoes!
📚 In This Guide
- What you need
- Instructions
- Tips and common mistakes
- Wrapping up and next steps
What you need
- ● Diatomaceous earth (food-grade) – 1–2 lbs (fine, powdery substance that dehydrates earwigs)
- ● Wood ash – 1–2 cups (natural repellent and barrier)
- ● Copper tape or wire – 1–2 rolls (1-inch width) (earwigs dislike copper’s electrical charge)
- ● Cardboard or thick paper strips – Enough to wrap around plant bases (creates a physical barrier)
- ○ Gloves (optional but recommended) – 1 pair (to avoid skin irritation from diatomaceous earth)
- ● Watering can or hose – For applying barriers evenly
- ● Essential oil spray (e.g., peppermint, lavender, or citrus oil + water) – Mix 10–15 drops per cup of water
- ● Crushed eggshells or sand – 1–2 cups (adds texture to deter earwigs)
- ● Companion plants (e.g., basil, mint, or marigolds) – Plant near vulnerable areas (natural earwig repellents)
- ● Flashlight – For nighttime inspections (earwigs are nocturnal!)
Step-by-Step instructions for creating natural earwig barriers
Earwigs vanish when their access is blocked—here’s how to smother them fast with physical barriers.
🪴 Step 1: Install Copper Tape Around Plant Bases
Copper tape creates an invisible electric barrier that earwigs refuse to cross. Unroll the tape around the base of each plant, overlapping edges by ½ inch to eliminate gaps. Press it firmly against the soil and plant stems—this prevents them from climbing upward. I use ¼-inch wide tape for small pots and ½-inch wide for garden beds, as wider coverage stops more determined crawlers.
Focus on areas where earwigs enter: mulch edges, pot rims, and low-hanging leaves. If you spot their brown, flattened bodies at dusk, add extra tape in those spots. The copper works best when dry, so avoid watering directly onto it for 24 hours after installation. You’ll see earwig activity drop within 24-48 hours.
🌿 Step 2: Apply Diatomaceous Earth as a Soil Barrier
Sprinkle a thin layer of food-grade diatomaceous earth (DE) around plant stems and along garden edges. Use a ½-inch wide band around each plant, extending 6-12 inches outward into the soil. The microscopic particles dehydrate earwigs on contact—just avoid breathing it in yourself. Reapply after rain or watering, as moisture reduces its effectiveness.
For containers, mix 1 tablespoon of DE per gallon of potting mix when repotting. Earwigs avoid areas treated with DE because it irritates their exoskeletons. Check for effectiveness by placing a few earwigs (collected from a trap) on untreated soil nearby—you’ll see them scurry away within minutes.
✂️ Step 3: Create Physical Mulch Barriers
Spread a 2-inch thick layer of coarse gravel or crushed eggshells around plant bases, creating a 6-inch wide ring that earwigs won’t cross. These materials disrupt their ability to hide in moist soil. For garden beds, use ¼-inch to ½-inch pebbles, while crushed eggshells work well for pots. Water lightly after placement to settle the barrier without compacting it.
Earwigs prefer dark, damp hiding spots, so this bright, dry layer forces them to relocate. Combine it with copper tape for maximum effect—together, they create a two-layer defense. Replenish the barrier every 3-4 weeks or after heavy rain, as organic matter breaks down. You’ll notice fewer earwigs within 3-5 days of full installation.
🌱 Step 4: Set Up Sticky Traps for Monitoring
Place yellow sticky traps near infested areas to track earwig activity. Position them 1-2 feet above ground level, angled slightly upward to catch crawling pests. Check traps daily—if you see more than 5 earwigs per trap per day, reinforce your barriers immediately. The traps also help identify which plants need extra protection.
For severe infestations, add moisture traps (a shallow dish with water and a drop of dish soap) near trap sites. Earwigs drown in these, reducing population pressure on your barriers. Replace traps every 7-10 days or when they become saturated with pests. This step ensures you’re not just masking the problem—you’re actively eradicating it.
Tips & tricks for smothering earwig infestations naturally
These battle-tested strategies will help you eliminate earwigs faster and keep them from returning. The key is consistency—earwigs are opportunistic pests, so disrupting their habitat at multiple points is essential.
Barrier Placement Precision: When creating your 1-inch-wide band of dry sand or diatomaceous earth in Step 1, focus on the critical 6-inch zone around plant stems. This is where earwigs congregate at night to hide and feed. I’ve found that using a straightedge tool (like a small ruler or trowel) helps create a perfectly uniform barrier without gaps. For potted plants, crush eggshells finely enough to create a rough texture—the sharp edges deter earwigs from climbing, but don’t make them so fine they blend into the soil.
Reflective Trap Optimization: In Step 2, the foil strips should be positioned with their shiny side facing outward, but don’t overlook the power of angle. Cut the strips at a slight upward angle (about 10-15 degrees) so any earwigs that do cross the barrier will be exposed to maximum light reflection. For larger garden beds, landscape fabric with a silver side works best when buried just enough to be stable but still visible—earwigs avoid crossing bright surfaces. Pro tip: Use a headlamp with a red light setting (which they can’t see as well) to inspect traps at night without disturbing their natural behavior.
Moisture Management Strategy: The moisture check in Step 3 is your most important early warning system. Earwigs become active when soil moisture exceeds 1 inch of penetration—this is their ideal habitat. To test more precisely, use a soil moisture meter instead of just your finger. For container plants, elevate them on bricks or saucers with drainage holes to prevent water pooling, which creates perfect earwig breeding conditions. I’ve seen infestations triple when pots sit in saucers without proper drainage—earwigs love the damp, dark environment.
Predator Attraction Boost: When deploying natural predators in Step 4, plant dill or fennel in clusters near infested areas rather than scattering them. The concentrated scent attracts more ground beetles and spiders, which are earwig predators. For beer traps, use shallow containers (like plastic lids) buried flush with the soil—deeper containers can trap beneficial insects too. The wooden board covering should have a small gap (about 1/4 inch) to let earwigs enter but not escape easily. Check traps every 2-3 days, but don’t be surprised if you find other beneficial insects—this just means your ecosystem is working!
Pro Tips for Get Rid Of Earwigs On Plants
- These battle-tested strategies will help you eliminate earwigs faster and keep them from returning.
- Barrier Placement Precision: When creating your 1-inch-wide band of dry sand or diatomaceous earth in Step 1, focus on the critical 6-inch zone around plant stems.
- Reflective Trap Optimization: In Step 2, the foil strips should be positioned with their shiny side facing outward, but don’t overlook the power of angle.
Frequently asked questions
Got questions about earwigs? You’re not alone!
Here are answers to the most common concerns—so you can tackle these pests with confidence and keep your plants thriving.
Are earwigs harmful to my plants?
Earwigs can damage plants by chewing leaves, flowers, and tender stems—especially seedlings or young plants. While they’re not usually deadly, heavy infestations may stress your garden. The good news? They prefer decaying matter, so removing debris and using barriers (like diatomaceous earth) can deter them before they cause real harm.
How quickly will natural remedies work?
Most natural solutions—like neem oil, diatomaceous earth, or companion planting—start showing results within 3–7 days. For severe infestations, combine methods (e.g., traps + barriers) and reapply treatments every 5–7 days until earwigs disappear. Patience is key!
Can I use companion plants to prevent earwigs long-term?
Planting garlic, mint, tansy, or chrysanthemums near vulnerable plants repels earwigs naturally. These companions disrupt their life cycle by masking plant scents or releasing toxins. For best results, interplant them directly with your veggies or flowers—earwigs will avoid the area entirely!
What if my earwig problem keeps coming back?
Persistent earwigs often mean they’re hiding in mulch, rocks, or dense foliage. Try these fixes:
- Replace thick mulch with gravel or straw (earwigs dislike dry surfaces).
- Inspect under pots, boards, and garden tools—earwigs love dark, moist spots.
- Set up beer traps (earwigs are attracted to yeast) to monitor and reduce populations overnight.
Can I use vinegar or soapy water to kill earwigs?
While vinegar (1:1 water ratio) or soapy water can kill earwigs on contact, they’re not ideal for prevention. Vinegar’s acidity may harm plants, and soapy water loses effectiveness quickly. For spot treatment, spray directly on earwigs under leaves—but focus on long-term barriers like diatomaceous earth for lasting protection.
Wrapping up and next steps
Earwigs may seem like a stubborn pest, but with the right natural barriers and proactive care, you can reclaim your garden without harsh chemicals! 🌱 From diatomaceous earth to strategic companion planting, these methods are effective, eco-friendly, and easy to implement. Start small—test one or two solutions first—then expand based on what works best for your space.
Now that you’re armed with knowledge, take action today! Monitor your plants regularly, adjust techniques as needed, and soon you’ll enjoy a thriving, earwig-free garden. Happy gardening! 🌿