
Planting
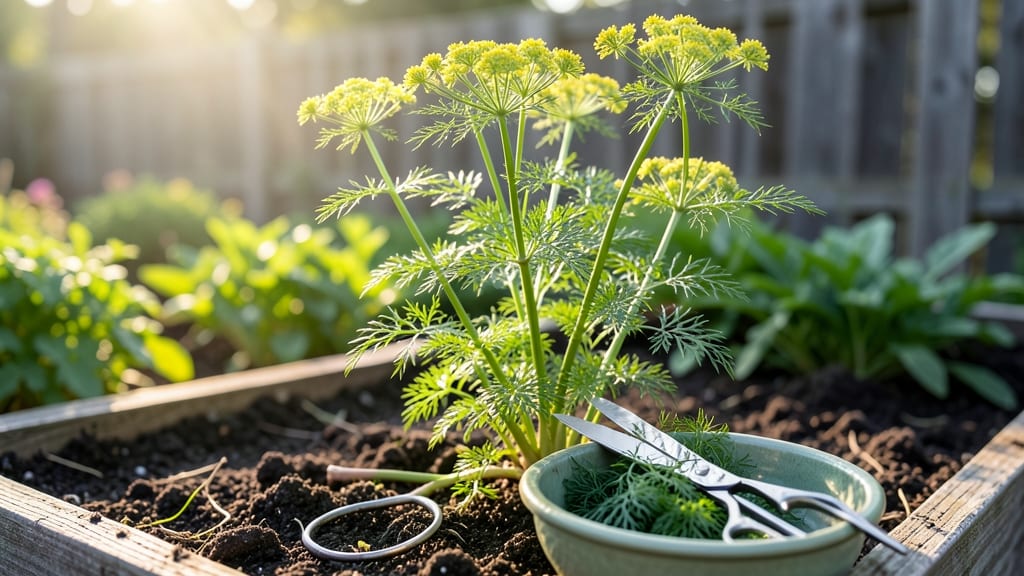
Cutting fresh dill from your plant is where the real magic happens—before flowering, when those feathery fronds pack the most flavor.
I’ve learned the hard way that snipping too late turns your harvest into bitter stems, and I’m sharing the exact technique that keeps my dill bushy, productive, and tasting like summer all season. The secret? Timing, tools, and a little strategic pruning.
You’ll need just three simple things: sharp pruning shears (or clean scissors), a bowl of ice water for immediate storage, and a sunny spot where your dill gets at least 6 hours of light daily.
The key is cutting just above a set of leaves—never the main stem—so the plant keeps branching out. Most people overlook this, and that’s why their dill grows tall but sparse. Trust me, your future pesto will thank you.
Start harvesting when the stems are 4-6 inches tall, and you’ll get three full harvests before the plant bolts. Pinch off the outer stems first, leaving the inner growth to thicken.
The first batch you cut will stay fresh in ice water for up to a week, while the plant keeps sending up new shoots. It’s like having a never-ending supply of the freshest herb in your kitchen.
Here’s the bonus: if you let a few stems flower, save the seeds for next year’s garden. But for now, focus on those lush green fronds—cut them early, store them right, and you’ll never buy dill from a jar again.
Ready to turn your dill plant into a flavor factory?
📚 In This Guide
- What you need
- Instructions
- Tips and common mistakes
- Wrapping up and next steps
What you need
- ● Fresh dill plant – A healthy, mature plant (at least 6–8 inches tall) with visible stems and leaves.
- ● Sharp pruning shears or clean kitchen scissors – Choose tools with sterilized blades to avoid damaging the plant or spreading disease.
- ○ Gloves (optional but recommended) – Protects your hands from sap and potential skin irritation.
- ● Clean cutting surface – A tray, plate, or bowl to collect your harvest and prevent mess.
- ○ Water spray bottle (optional) – Helps keep leaves fresh if you’re storing them temporarily.
- ● Plastic bag or airtight container – For storing harvested dill in the fridge (1–2 weeks).
- ● Drying rack or paper towels – If you plan to dry your dill for long-term storage.
- ● Labeling markers – To mark your dill harvest if storing multiple herbs.
- ● Hand sanitizer or rubbing alcohol – For sterilizing tools before and after use.
Tips & tricks for perfect dill harvesting
Here's what nobody tells you about keeping your dill plant thriving after each harvest.
Timing is Everything: The 4-6 week mark before your first harvest is crucial—this gives the plant time to establish a strong root system. I've seen beginners rush and cut too early, which stunts growth. Wait until you see those 3-4 sets of leaves and 8-12 inches of height before making your first cut. This ensures you're not sacrificing future harvests.
Pruning Technique Matters: When you're making that 45-degree angle cut in Step 2, think of it like giving your plant a fresh haircut. The larger surface area helps water absorption, but more importantly, it prevents disease by keeping water from pooling. I've ruined plants by using dull scissors—always use clean, sharp pruners. For smaller harvests, a straight cut works fine, but that angled cut makes all the difference for larger harvests.
Strategic Harvesting for Bushier Growth: The ⅓ rule in Step 3 isn't just arbitrary—it's about balance. Cutting more than that stresses the plant and can lead to leggy growth. I've learned this the hard way after seeing plants become sparse after aggressive harvesting. Focus on those outer stems first, and you'll encourage new growth from the center. This creates that perfect bushy shape that keeps producing for months.
Storage Wisdom: That 10-14 day storage time in Step 4 is only if you store properly. I used to think any container would work, but tightly sealed ones trap moisture and speed up spoilage. Use loosely sealed containers instead. For longer storage, the damp paper towel trick keeps stems fresh longer—it mimics the humidity they'd get in the garden.
Pro Tips for Cut Fresh Dill From Plant
- Here's what nobody tells you about keeping your dill plant thriving after each harvest.
- Timing is Everything: The 4-6 week mark before your first harvest is crucial—this gives the plant time to establish a...
- Pruning Technique Matters: When you're making that 45-degree angle cut in Step 2, think of it like giving your plant ...
Frequently asked questions
Got questions about harvesting dill? You’re not alone—here are answers to the most common ones!
When is the best time to cut fresh dill?
The ideal time is early morning after the dew has dried but before the sun intensifies. This ensures the herbs are fully hydrated and packed with flavor. Avoid cutting after rain, as the leaves may be too wet and prone to disease.
How much of the plant can I cut at once?
Never remove more than one-third of the plant in a single harvest. For example, if your dill is 12 inches tall, trim just the top 4 inches. This prevents stress and encourages bushier regrowth. Young plants need even gentler pruning!
Can I cut dill from the bottom or just the top?
Always cut from the top down—never the base! The bottom leaves are older and may be woody or bitter. Snip just above a leaf node (where leaves meet the stem) to promote new growth. Avoid stripping entire stems, as this can harm the plant.
Why does my dill turn bitter after cutting?
Bitter flavor often signals over-maturity or stress. Harvest regularly to prevent bolting (flowering), which concentrates bitterness. If your dill bolts, pick the flowers early—they’re edible and add a mild dill flavor to dishes like yogurt or salads!
What can I do with dill I cut but don’t use immediately?
Store fresh dill in the fridge by wrapping stems in a damp paper towel, placing it in a plastic bag, and refrigerating for up to 5–7 days. For longer storage, freeze chopped dill in ice cube trays with water or oil, or dry it by hanging bundles upside down in a dark, dry place.
Wrapping up and next steps
Mastering how to cut fresh dill from your plant isn’t just about harvesting—it’s about encouraging lush, flavorful growth for seasons to come! 🌿 With the right tools, timing, and technique, you’ll enjoy a steady supply of vibrant herbs for soups, salads, and more. Now that you’re equipped with these tips, why not share your newfound skills? Invite a friend over for a cooking session or gift a small dill bundle to a neighbor—your green thumb will inspire others!
Next step: Grab your pruners and head to the garden—your first harvest is waiting! 🌱