
Planting
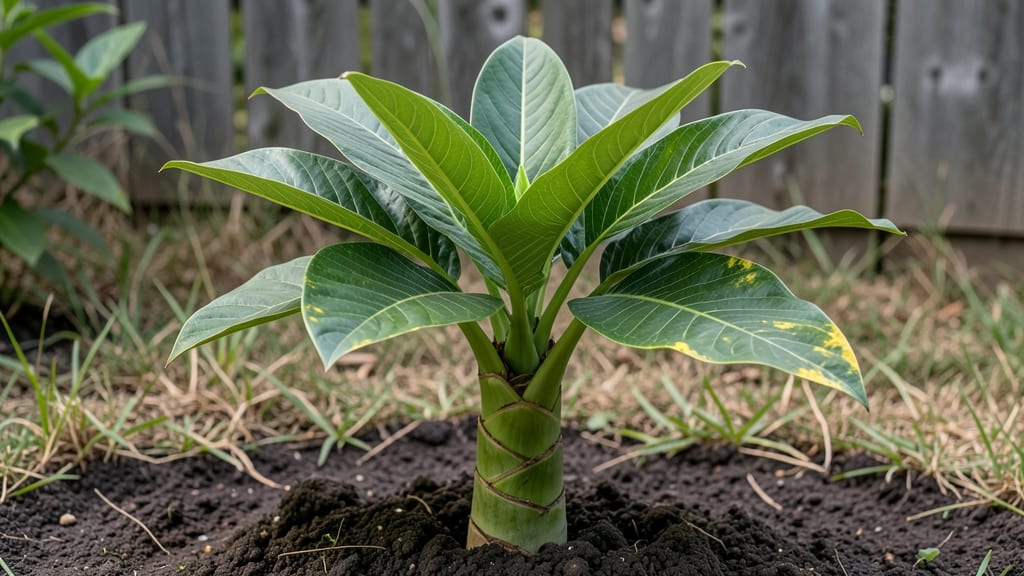
Caring for a curcuma plant means unlocking vibrant golden rhizomes year-round. 🌱 My first attempt nearly died from overwatering, but I learned the simple rhythm that keeps these tropical beauties thriving—warm, humid, and well-drained conditions that mimic their jungle roots.
The secret isn’t complicated: bright indirect light, slightly moist (not soggy) soil, and high humidity. Most people overthink it, but curcuma plants are forgiving once you get their basic needs right. A simple setup with a humidity tray and occasional misting works wonders.
By summer’s end, you’ll harvest plump rhizomes perfect for cooking or medicine. The leaves stay lush, the growth stays steady, and you’ll avoid the common pitfalls that turn these plants into sad, leggy shadows.
Works indoors or out in warm climates, and even beginners can master this with consistent care. Here’s how to keep yours growing strong all year.
📚 In This Guide
- What you need
- Instructions
- Tips and common mistakes
- Wrapping up and next steps
What you need
- ● Curcuma rhizomes: 2–5 healthy, plump rhizomes (with "eyes" or buds) per plant. Look for organic or nursery-sourced rhizomes for best results.
- ● Well-draining potting mix: 1–2 bags (10–20 liters) of a blend like cactus/succulent mix + perlite/vermiculite (ratio: 60% soil, 40% perlite). Avoid heavy clay soil!
- ● Containers: For indoors: 1–2 ceramic or terracotta pots (12–16 inches in diameter) with drainage holes.
- ● For outdoors: Raised beds or garden plots (18+ inches deep) in warm climates (USDA zones 9–11).
- ● Drainage layer: Small pebbles, gravel, or broken pottery (1–2 inches thick) for pots.
- ● Watering can or spray bottle: With a fine rose nozzle for gentle watering.
- ● Pruning shears: Sharp, sterilized shears for trimming leaves or dividing rhizomes.
- ● Fertilizer: Balanced liquid fertilizer: 10-10-10 or 20-20-20 (diluted to half-strength).
- ● Organic option: Compost tea or worm castings (1 cup per gallon of water).
- ● Mulch: Straw or wood chips to retain moisture and regulate soil temperature.
- ● Grow lights: LED full-spectrum lights (12–14 hours/day) for indoor setups.
- ● Humidity tray: A pebble tray with water to boost humidity (especially for indoor plants).
- ● pH test kit: To monitor soil pH (ideal range: 6.0–7.5).
- ● Rhizome divider: A clean knife or rhizome cutter for propagation.
Step-by-Step instructions for growing a thriving curcuma plant
Here’s how I keep my curcuma plants lush and productive year after year—no guesswork required.
🌱 Step 1: Plant in Well-Draining, Nutrient-Rich Soil
Curcuma thrives in soil that mimics its tropical roots—light, airy, and rich in organic matter. Mix equal parts peat moss, perlite, and compost for the perfect blend. Avoid garden soil; it compacts too easily and suffocates the rhizomes. Plant the rhizomes horizontally, just below the soil surface, with the buds facing upward. This encourages strong root growth right away.
Space rhizomes 6-8 inches apart in containers or 12 inches apart in garden beds. Overcrowding leads to competition for nutrients, and you’ll end up with smaller, less flavorful rhizomes. Water lightly after planting to settle the soil, but don’t drown it—curcuma hates soggy roots.
☀️ Step 2: Provide Bright, Indirect Light and Warmth
Curcuma needs bright, indirect light for at least 6-8 hours daily. A south- or west-facing window works well, but direct midday sun can scorch the leaves. If growing indoors, place it near a window with sheer curtains to filter harsh rays. I’ve seen curcuma leaves yellow and crisp at the edges when exposed to too much direct sun—definitely not what you want.
Keep temperatures between 70-85°F during the day and no lower than 60°F at night. If your home runs cooler, a simple heat mat under the pot can make all the difference. Curcuma is sensitive to cold drafts, so avoid placing it near doors or air conditioning vents. Watch for drooping leaves as a sign it’s too cold—adjust its location immediately.
💧 Step 3: Water Consistently Without Overdoing It
Water your curcuma when the top 1-2 inches of soil feel dry to the touch. Stick your finger in the soil—if it’s damp just below the surface, wait another day. Overwatering is the #1 killer of curcuma plants; it causes rhizomes to rot before they mature. I like to water deeply but infrequently, letting the soil dry out slightly between waterings. This mimics its natural tropical environment where heavy rains are followed by dry spells.
Use room-temperature water to avoid shocking the roots. Yellowing leaves or mushy stems are red flags—cut back on watering and ensure the pot has drainage holes. If you notice mold or fungus on the soil surface, reduce watering further and consider repotting with fresh, dry mix.
✂️ Step 4: Fertilize Lightly and Prune for Health
Feed your curcuma every 4-6 weeks during the growing season with a balanced liquid fertilizer (like 10-10-10) diluted to half strength. Too much fertilizer burns the roots, and you’ll see crispy leaf edges as a warning sign. I also add a handful of worm castings to the soil every few months—it boosts nutrients without the risk of overfeeding. Stop fertilizing in fall and winter when growth slows.
Deadhead spent flowers by snipping them off at the base. This redirects energy back to the rhizomes, which is where you want the plant’s focus. Prune any yellow or damaged leaves with clean scissors to keep the plant healthy. If your curcuma gets leggy, it’s a sign it needs more light—move it closer to a window or supplement with a grow light.
⏰ Step 5: Harvest and Overwinter for Next Year’s Growth
Harvest rhizomes in 9-12 months when the leaves turn yellow and die back naturally. Dig carefully with a fork to avoid damaging the rhizomes. Rinse off the soil, then dry them in a warm, dark place for 2-3 weeks. Store them in a cool, dry spot until you’re ready to replant. I like to save the largest, healthiest rhizomes for replanting—they produce more vigorous growth the next season.
In winter, reduce watering significantly—just enough to keep the soil from drying out completely. If growing indoors, move the plant to a cooler spot (60-65°F) to mimic its dormant phase. This helps the rhizomes store energy for next year’s growth. With proper care, your curcuma will reward you with bold, flavorful rhizomes year after year.
Tips & tricks for perfect curcuma plant care
These simple secrets will help your curcuma thrive—no green thumb required!
Soil Mix Matters: For the perfect soil blend in Step 1, I recommend adding a handful of orchid bark to your peat moss-perlite-compost mix. This improves aeration even more, which curcuma loves. If you can't find orchid bark, extra perlite works too—just make sure the mix stays loose and never compacted. The rhizomes need room to breathe to develop properly.
Lighting Hack: In Step 2, if your windows don't get enough natural light, supplement with a grow light for 4-6 hours daily. I use a simple LED grow bulb on a timer—it's budget-friendly and mimics sunlight perfectly. Position it 6-12 inches above the plant so the leaves don't burn. Watch for purplish stems as a sign it needs more light immediately.
Watering Wisdom: When checking soil moisture in Step 3, press your finger about 1 inch deep—not just the surface. The top layer can dry faster than deeper soil, giving a false "dry" reading. I've learned this the hard way after overwatering plants that actually needed more time between drinks. Room-temperature water is key too—cold water can shock the roots and cause yellowing leaves.
Fertilizer Timing: For Step 4's feeding schedule, I've found that alternating between liquid fertilizer and worm castings gives the best results. Use the liquid fertilizer every 4-6 weeks, but swap in worm castings every 8-12 weeks. This gives a steady nutrient supply without risking root burn. Always dilute that liquid fertilizer—half strength is perfect for curcuma's sensitive roots.
Pro Tips for Care For Curcuma Plant
- These simple secrets will help your curcuma thrive—no green thumb required!
- Soil Mix Matters: For the perfect soil blend in Step 1, I recommend adding a handful of orchid bark to your peat moss...
- Lighting Hack: In Step 2, if your windows don't get enough natural light, supplement with a grow light for 4-6 hours ...
Frequently asked questions
How often should I water my curcuma plant?
Water your curcuma plant only when the top 2-3 inches of soil feel dry. Overwatering is the #1 killer—these tropical beauties hate soggy roots! Aim for 1-2 times per week in warm weather, but reduce to once every 10-14 days in cooler months. Yellowing leaves? That’s your cue to cut back!
When is the best time to harvest curcuma rhizomes?
Harvest after 8-10 months of growth, when the leaves start turning yellow and the rhizomes feel firm. Dig gently, rinse, and let them dry in the sun for 2-3 days before storing. Pro tip: Wait until the first frost if growing outdoors—curcuma’s not frost-friendly!
Can I grow curcuma in containers? What size pot do I need?
Curcuma thrives in 5-gallon pots or larger with drainage holes. Use a well-draining mix (like cactus soil + perlite). Just ensure the pot is at least 12 inches deep—rhizomes need room to spread. Bonus: Containers let you move plants indoors during winter!
Why are my curcuma leaves turning yellow or brown?
Yellow leaves = overwatering or poor drainage. Brown edges? Likely underwatering or low humidity. Check for pests (like spider mites) too! Adjust care: water less, improve airflow, and mist occasionally. If the issue persists, repot with fresh, airy soil.
Does curcuma need full sun? What if I only have partial shade?
Ideally, 6+ hours of bright, indirect light daily. In partial shade (4-6 hours), growth slows but isn’t fatal. If leaves look pale, supplement with a grow light 12 inches away for 4-6 hours. Warning: Direct midday sun can scorch tender leaves—use a sheer curtain if needed!
Wrapping up and next steps
Caring for your curcuma plant is a rewarding journey that brings vibrant color and health benefits to your home! With the right light, soil, watering, and a dash of patience, you’ll enjoy lush foliage and even harvest golden rhizomes.
Remember, consistency is key—whether you’re a beginner or a seasoned gardener, your curcuma will thrive with love and attention. 🌱✨
Now that you’re armed with these year-round growth secrets, why not share your progress or explore creative ways to use your harvest? Happy growing—and may your garden flourish! 🌿💛