
Container Gardens
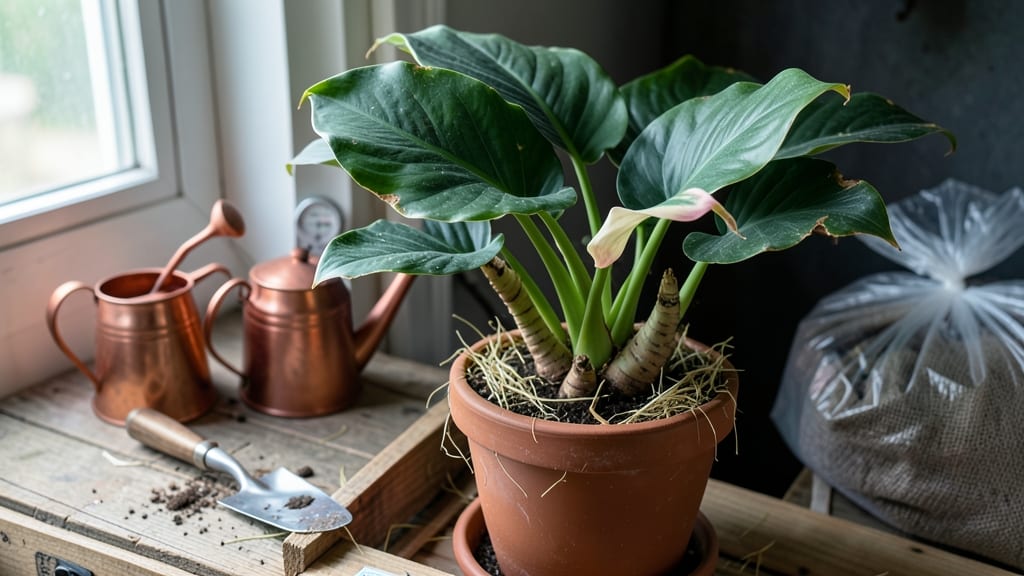
How to over winter calla lilies in pots saves you from replanting every spring. 🌱 I’ve lost count of the times I’ve dug up my prized callas only to watch them wither in storage—until I discovered the foolproof method that keeps them thriving indoors. The secret isn’t complicated: timing, light, and a little patience transform what could be a risky gamble into a guaranteed comeback.
Start by moving pots indoors before the first frost, when soil temps dip below 40°F. Trim back the foliage to 3-4 inches above the soil, leaving the rhizomes intact. Place them in a cool (50-60°F), bright spot—near a north-facing window or under grow lights.
Water sparingly: once every 2-3 weeks is enough to prevent rot without drowning the dormant rhizomes.
By late winter, you’ll spot new shoots pushing through the soil—your cue to gradually reintroduce water and fertilize lightly with a balanced feed. Move pots outside only after nighttime temps stay above 55°F, hardening them off over 7-10 days.
The payoff? Bold, lush blooms by early summer, just like the first year you planted them.
Mild climates? Skip the indoor move and mulch pots heavily instead. Harsh winters? Add a thick layer of straw for insulation. Either way, avoid the common pitfall of overwatering—that’s how fungal rot sneaks in. With this routine, your callas become a year-round investment, not a seasonal splurge.
📚 In This Guide
- What you need
- Instructions
- Tips and common mistakes
- Wrapping up and next steps
What you need
- ● Calla lily tubers (or potted plants) – Ensure they’re healthy and free of rot or damage.
- ● Well-draining potting mix – A blend of peat moss, perlite, and compost (or a pre-mixed bulb/calla mix). Aim for 10-12 inches of depth in the pot.
- ● Container with drainage holes – Use a pot at least 12 inches deep (larger for multiple tubers) and made of terracotta, plastic, or fabric.
- ● Drainage material – Pebbles, gravel, or broken pottery (2–3 inches) to prevent soggy roots.
- ● Watering can with a narrow spout – For precise hydration (avoid overhead watering).
- ○ Mulch (optional but helpful) – Straw, pine needles, or shredded leaves (1–2 inches) to insulate the soil.
- ● Cold frame, greenhouse, or unheated garage/shed – A protected space where temps stay 30–50°F (-1–10°C).
- ○ Thermometer (optional but useful) – To monitor temperatures in your storage spot.
- ● Slow-release fertilizer – A balanced 10-10-10 or bulb-specific formula to nourish roots post-winter.
- ● Fungicide (like neem oil or copper spray) – To prevent mold or rot if humidity is high.
- ● Pot feet or casters – Makes moving heavy pots easier if you’re relocating them.
- ● Humidity tray (for indoor overwintering) – A shallow tray with pebbles and water to maintain moisture.
Step-by-Step instructions for overwintering calla lilies in pots
Here's how I've successfully kept my calla lilies thriving through winter—no greenhouse required.
⏰ Step 1: Prepare for Dormancy in Late Fall
When nighttime temperatures drop below 50°F consistently, your calla lilies signal dormancy with yellowing leaves. This is your cue to stop fertilizing and reduce watering—let the soil dry slightly between waterings. I like to move the pots to a sheltered spot like a garage or unheated basement where temperatures stay between 40-50°F.
Cut back the foliage to 2-3 inches above the soil line using clean, sharp shears. This prevents disease and helps the plant conserve energy. Here's the thing—don't rush this step. Wait until the leaves naturally yellow before pruning. Forcing dormancy too early stresses the plant and weakens next year's blooms.
🪴 Step 2: Adjust Watering and Light During Dormancy
Once in dormancy, water only enough to keep the soil from completely drying out—about every 3-4 weeks. Overwatering now causes rot. I check moisture by sticking my finger 1 inch deep into the soil; if it feels dry, that's your watering signal. Place the pots in a spot with bright but indirect light—a north-facing window works well.
This is where most people go wrong. I've seen calla lilies die from either too much water or too little light during dormancy. The key is balance: just enough moisture to prevent desiccation, but not so much that roots suffocate. If your basement is completely dark, add a low-watt LED bulb on a timer for 8 hours daily to mimic natural light cycles.
☀️ Step 3: Transition Back to Active Growth in Early Spring
When daytime temperatures consistently reach 55°F in late winter, it's time to wake your callas. Move the pots to a brighter location and gradually increase watering—start with every 7-10 days, then increase frequency as new growth appears. You'll notice tiny shoots emerging from the soil in 3-4 weeks.
Here's what I do next: I fertilize lightly with a balanced 10-10-10 formula at half-strength when the first true leaves appear. This jumpstarts growth without overwhelming the plant. Watch for new foliage with deep green color—that's your confirmation the plant is breaking dormancy successfully.
🌱 Step 4: Acclimate to Outdoor Conditions Before Planting
About 2 weeks before your last frost date, begin hardening off your calla lilies. Move them outdoors to a sheltered spot during the day and bring them back inside at night. Gradually increase their outdoor time by 1-2 hours daily until they can stay out overnight. This prevents transplant shock from sudden temperature changes.
Once nighttime temperatures stay above 55°F consistently, your callas are ready for their permanent outdoor spot. Choose a location with partial shade and well-draining soil. I always test the soil pH first—callas thrive in acidic soil (pH 6.0-6.5). If your soil is alkaline, amend it with peat moss or sulfur before planting.
✂️ Step 5: Maintain Through the Growing Season
After transplanting, water deeply once weekly during dry spells, keeping the soil consistently moist but never soggy. You'll know you're doing it right when the soil feels damp 1 inch below the surface. Fertilize every 4-6 weeks with a balanced liquid fertilizer during the growing season to encourage robust blooms.
Deadhead spent blooms regularly to redirect the plant's energy into new growth. I also divide mature clumps every 3-4 years in early spring to prevent overcrowding. Simply lift the plant, separate the rhizomes, and replant the strongest sections. This rejuvenates the plant and gives you more callas for free!
Tips & tricks for overwintering calla lilies in pots
These tried-and-true strategies will help you navigate the tricky balance of dormancy and revival—without losing your prized plants.
Temperature Transition: The 40-50°F range during dormancy is non-negotiable for calla lilies. I've learned this the hard way after losing plants in both too-warm (60°F+) and too-cold (below 40°F) conditions. Use a thermometer to monitor your storage space—garages and basements can have dramatic temperature swings. If your space fluctuates, consider moving pots to a more stable location like a closet with a small fan for gentle air circulation.
Pruning Precision: When cutting back foliage to 2-3 inches in Step 1, use a sterilized pair of shears to avoid introducing pathogens. The key is to remove only the yellowed leaves—never cut into green tissue, as this signals the plant to continue growing when it should be resting. I like to make clean, diagonal cuts just above a leaf node to encourage any potential new growth from dormant buds.
Light Supplement Strategy: For those dark winter storage spots, a simple LED bulb on an 8-hour timer works wonders. I recommend using a cool-white bulb (around 3000K) rather than warm tones, as it mimics natural daylight more effectively. Position the bulb about 12 inches above the pots to avoid overheating the soil. This small investment prevents the leggy, weak growth that results from insufficient light during dormancy.
Spring Revival Checklist: When waking your callas in Step 3, look for three key signs of successful dormancy break: new shoots emerging from the soil, slightly swollen rhizomes, and tiny green leaves unfurling. If you don't see these within 3-4 weeks after increasing watering, your plant may need a warmer location or additional time to recover. Patience is crucial—rushing the process often leads to weak, stunted growth.
Pro Tips for Over Winter Calla Lilies In Pots
- These tried-and-true strategies will help you navigate the tricky balance of dormancy and revival—without losing your...
- Temperature Transition: The 40-50°F range during dormancy is non-negotiable for calla lilies. I've learned this the h...
- Pruning Precision: When cutting back foliage to 2-3 inches in Step 1, use a sterilized pair of shears to avoid introd...
Frequently asked questions
about overwintering calla lilies in pots—because even the pros need a little extra help! Here are answers to the most common queries to keep your plants thriving through the cold months.Can calla lilies survive winter in pots if left outside without protection?
Not without risk! While some calla lilies (like Zantedeschia aethiopica) are hardy to USDA Zone 8, most varieties need protection from freezing temps. Pots absorb cold quickly, and roots can freeze or rot. Always move them to a sheltered spot or indoors (like a garage or basement) before temps drop below 30°F (-1°C).
When is the best time to bring calla lilies indoors for winter?
Wait until after the first frost—usually late fall (October–November, depending on your zone). Stop watering 1–2 weeks before moving them inside to prevent root rot. Once indoors, place them in a cool (50–60°F/10–15°C), dark spot and reduce watering to just enough to keep soil barely moist.
What do I do if my calla lily’s leaves turn yellow or brown during winter?
Yellowing leaves are normal in dormancy, but brown, mushy stems or moldy soil signal trouble. Check for overwatering (the #1 killer!) or pests like spider mites in dry indoor air. Trim dead foliage, repot if soil smells sour, and adjust watering. If roots look rotten, prune them and repot in fresh, dry potting mix.
Can I overwinter calla lilies in a basement or garage instead of a living space?
Just ensure the space stays cool (40–60°F/4–15°C), dark, and humid (a tray of pebbles + water helps). Avoid unheated garages—temps below freezing will damage roots. If using a basement, ventilate lightly to prevent mold and check for drafts or condensation near pots.
What if I don’t have space indoors? Are there alternatives to overwintering?
If indoor storage isn’t an option, try these tricks:
- Insulated pots: Swap plastic pots for fabric grow bags or wrap pots in bubble wrap + thick mulch (straw or leaves).
- Ground planting: Bury pots in 6+ inches of soil in a protected garden bed (like near a south-facing wall).
- Cold frames: Use a low tunnel or hoop house with clear plastic to trap heat.
Just avoid leaving them exposed—even hardy callas need some winter protection!
Wrapping up and next steps
Overwintering calla lilies in pots is totally doable with the right prep—and the reward is stunning blooms year after year! 🌿 By following these steps, you’ll protect your plants from frost while keeping them healthy and ready to thrive in spring.
Now that you’re armed with the know-how, grab those gloves and get ready to give your callas the cozy care they deserve.
Your next step? Mark your calendar for late winter—when it’s time to transition your callas back into the sun and watch them burst back to life! 🌸