
How To
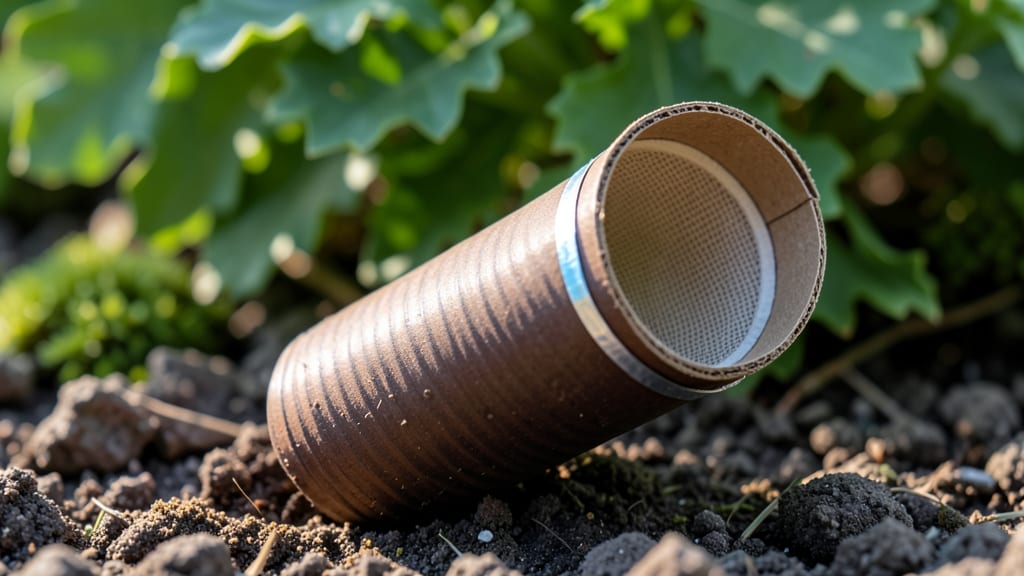
How to make an earwig trap that actually works? That crunchy sound underfoot isn’t just annoying—it’s a sign they’re munching your plants. 🌱 I’ve battled them for years, and this DIY trap finally worked where store-bought sprays failed. It’s simple, non-toxic, and uses stuff you already have lying around.
The secret lies in their behavior: earwigs love damp, dark spaces but get trapped when they can’t escape. This trap exploits that by creating a one-way exit.
You’ll need a shallow container, some cardboard, and a little water—no fancy tools required. The best part? It’s ready in under 10 minutes and works for weeks.
Once set up, you’ll start seeing results within 24 hours. Earwigs crawl in for the moisture, get stuck, and can’t climb back out. Your plants will stay crisp, your mulch will stay intact, and you’ll avoid those creepy nighttime raids.
The trap even doubles as a way to monitor their activity.
For stubborn infestations, pair this with natural barriers like diatomaceous earth around plant bases. It’s the eco-friendly combo that actually works—no chemicals, no guesswork. Let’s get those pests under control for good.
📚 In This Guide
- What you need
- Instructions
- Tips and common mistakes
- Wrapping up and next steps
What you need
- ● Cardboard or thick paper – A piece large enough to fold into a trap (e.g., cereal box or shipping box). Size: ~12" x 12" or larger.
- ● Scissors or a utility knife – For precise cuts and folds.
- ● Tape (duct tape or packing tape) – To secure edges and create a sealed trap.
- ● Non-toxic bait – Options include: Moisture source: Damp cotton balls, a small dish of water, or a sponge.
- ● Food lure: Overripe fruit (banana peels work great!), beer (yes, really!), or a bit of honey.
- ○ Container (optional but helpful) – A small bucket, jar, or plastic tub to place the trap in for easy disposal later.
- ● Flashlight or headlamp – For nighttime earwig hunting (they’re nocturnal!).
- ● Glove or tongs – To handle traps without touching bait or earwigs directly.
- ● Essential oils (e.g., peppermint or citrus) – A few drops around the trap’s perimeter can repel earwigs.
- ● Marker or pen – To label traps if you’re setting multiple in different areas.
Step-by-step instructions for making an earwig trap
Here's the simple, effective method I've used for years to keep these critters out of my garden beds.
🪴 Step 1: Gather Your Trap Materials
You only need three basic items: a shallow container (like a pie tin or plastic lid), a piece of corrugated cardboard, and a sturdy stick or pencil. The container should be about 6-8 inches wide—big enough to hold moisture but small enough to place strategically. I like to use something dark-colored because earwigs are attracted to damp, shaded areas.
Cut the cardboard into strips about 2 inches wide and long enough to reach from the container's edge to the ground when placed inside. The corrugated texture gives them something to grip as they climb in. If you don't have cardboard, rolled-up newspaper works in a pinch—just make sure the edges are ragged to help them climb.
💧 Step 2: Set Up the Lure and Entry Point
Fill the container about ½ inch deep with water—just enough to create a shallow pool. Earwigs are attracted to moisture, and this becomes their one-way ticket. Place the cardboard strips inside so they hang down the sides, creating a ramp for the earwigs to climb up. The strips should touch the container's edge but not the water.
Here's the thing—don't use soap or other chemicals in the water. Earwigs are curious but not stupid. They'll avoid strong smells and might bypass your trap entirely. The water alone is lure enough, and it keeps them trapped once they fall in.
☀️ Step 3: Position the Trap Strategically
Place your trap near problem areas—under plant pots, along garden edges, or under mulch where earwigs hide during the day. I like to put them in the evening when earwigs are most active. The trap should be on level ground so the cardboard strips make proper contact with the soil.
Check your traps every morning. You'll know it's working when you see earwigs clustered at the bottom of the container. They can't climb out because the cardboard strips are too slick when wet, and the water prevents escape. Empty and reset the trap daily to keep it effective.
⏰ Step 4: Monitor and Relocate Traps
After about 3-5 days, move the trap to a new location. Earwigs are territorial, and they'll eventually stop falling for the same spot. I rotate mine around my garden beds, focusing on areas where plants show signs of damage—chewed leaves or rolled-up foliage.
This is the moment that matters: If you notice fewer earwigs after a week, your garden's ecosystem is starting to balance. The traps work best as part of an integrated approach—keep your garden clean, mulch properly, and avoid overwatering at night when earwigs are most active.
Tips & tricks for perfect earwig trap setup
Don't let these little details trip you up—these tricks will make your earwig traps work like a charm.
Container Choice Matters: While any shallow container works, I've found that dark-colored ones (like black plastic lids) are more effective. Earwigs naturally seek out damp, shaded areas, and the dark color mimics their preferred hiding spots. If you're using something light-colored, place it under a leaf or mulch to create that shaded effect they crave.
Cardboard Texture is Key: The corrugated texture of cardboard gives earwigs something to grip as they climb in, but it also makes their escape nearly impossible. If you're using newspaper instead, make sure to crumple it slightly or tear the edges—this creates more grip points for them to climb up. The smoother the surface, the harder it'll be for them to get out once they're in.
Water Depth Strategy: That ½-inch depth of water is perfect—enough to trap them but not so deep they can swim out. I've seen people overfill their containers, thinking more water means better trapping, but it just creates a mess. Keep it shallow, and you'll see far fewer escapes. Also, avoid adding anything to the water—earwigs are smart enough to avoid strong scents or chemicals.
Reset Routine is Critical: Emptying and resetting your traps daily might seem tedious, but it's what keeps them working effectively. After about 3-5 days in one spot, earwigs get wise to the trap and avoid it. I've noticed that if I skip resetting for even a day, the effectiveness drops dramatically. Think of it like refreshing bait in a fishing trap—consistency is everything.
Pro Tips for Make An Earwig Trap
- Don't let these little details trip you up—these tricks will make your earwig traps work like a charm.
- Container Choice Matters: While any shallow container works, I've found that dark-colored ones (like black plastic lids) are more effective.
- Cardboard Texture is Key: The corrugated texture of cardboard gives earwigs something to grip as they climb in, but it also makes their escape nearly impossible.
Frequently asked questions
Got questions about trapping earwigs? You’re not alone! Here are some common concerns—and quick answers—to help you tackle those pesky critters like a pro.
When is the best time of day to set up an earwig trap?
Earwigs are most active at dusk and dawn, so set your traps during these times for maximum effectiveness. If you’re using beer or soapy water, place them in the evening—they’ll be drawn to the scent and moisture. For sticky traps, position them near entry points (like mulch or damp areas) before nightfall. Pro tip: Check traps in the morning to avoid crushing them!
Can I use anything other than beer to trap earwigs?
While beer works well, earwigs love moisture and yeast. Try these alternatives:
- Yeast + sugar water: Mix 1 tbsp yeast + 1 tbsp sugar in 4 cups warm water. Let it ferment overnight for a stronger lure.
- Soapy water: Dish soap + water in a shallow container traps them as they drown.
- Overripe fruit: Bananas or apples left near traps attract them (then dispose of the fruit to avoid pests).
Warning: Avoid vinegar—it repels earwigs instead of luring them!
Where should I place the trap for the best results?
Earwigs hide in dark, damp spots, so place traps:
- Under mulch, leaves, or logs (their favorite hiding spots).
- Near foundation cracks, windowsills, or basements (entry points).
- In gardens or potted plants (they love moisture-rich soil).
For indoor traps, focus on bathrooms, kitchens, or basements. Tip: Place traps upright (like a funnel) to prevent escape!
What do I do if the trap isn’t working after a few days?
If your trap isn’t catching earwigs, try these fixes:
- Refresh the bait: Replace stale beer or old fruit with fresh lures.
- Check placement: Move traps to damper, darker areas (earwigs avoid light!).
- Increase moisture: Add a damp cloth or water to the trap to mimic their habitat.
- Try a different method: Switch to a sticky trap or diatomaceous earth for stubborn infestations.
If the problem persists, you may need to reduce outdoor moisture (fix leaks, remove standing water) to discourage them long-term.
Are earwig traps safe for pets and plants?
Most DIY earwig traps (like beer or soapy water) are non-toxic to pets and plants, but take precautions:
- Pet safety: Use shallow traps pets can’t tip over. Avoid sticky traps if you have curious cats/dogs.
- Plant safety: Place traps away from edible gardens to prevent accidental ingestion (though earwigs don’t harm plants).
- Natural alternatives: For extra safety, use yeast traps or diatomaceous earth (food-grade only!).
Bonus: Clean up traps promptly to avoid attracting other pests like ants or flies!
Wrapping up and next steps
You’ve got everything you need to banish earwigs for good! 🚫🐜 Whether you used a simple jar trap, a DIY beer bottle setup, or a strategic cardboard barrier, these methods are effective, budget-friendly, and eco-conscious.
The key is consistency—check your traps regularly and keep your yard tidy to break their cycle.
Now that you’re armed with the know-how, take action today! Start with one trap, monitor results, and expand as needed. Share your success (or creative tweaks) with fellow gardeners—you’ve just become the earwig-fighting hero your plants deserve! 🌱✨