
How To
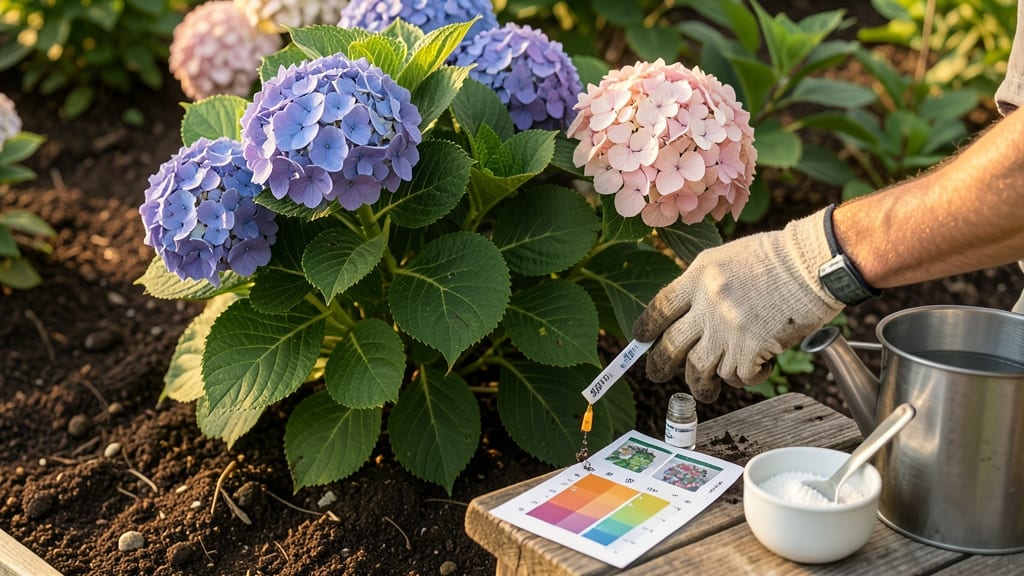
How to test and adjust soil pH for hydrangeas (step-by-step guide)
Your hydrangeas crave acidic soil to produce those stunning blue blooms, but most garden soils hover around neutral pH. Testing and adjusting your soil’s acidity is the first step to unlocking vibrant colors. Start by understanding your current soil pH—hydrangeas thrive between 5.0 and 5.5 for blue flowers.
Before diving into amendments, grab a soil pH test kit (available at garden centers for under $10). These kits use simple color comparisons or digital readings to give you an accurate baseline.
For a more precise reading, send a sample to your local cooperative extension service—they’ll provide a detailed report for a small fee.
Once you’ve tested your soil, you’ll know exactly how much to adjust. If your pH is above 6.0, you’ll need to acidify it.
If it’s already in the ideal range, you can skip this step—but keep monitoring, as soil pH naturally fluctuates over time. Patience is key—lowering pH too quickly can stress your plants.
Here’s your step-by-step guide to testing and adjusting soil pH for hydrangeas, from testing to application:
Collect soil from 6 inches deep around your hydrangea’s base. Use a clean trowel to gather 5-6 samples and mix them in a bucket. Follow your test kit’s instructions for accurate results.
Aim for a pH of 5.0–5.5 for blue blooms. If your soil is above 6.0, you’ll need to acidify. Note: Pink hydrangeas prefer pH 6.0–7.0, but we’re focusing on blue here!
Pick between organic options (peat moss, pine needles) or chemical amendments (sulfur, aluminum sulfate). Organic methods are slower but safer for long-term use.
Work amendments into the top 6 inches of soil around your hydrangea’s roots. Water thoroughly after application to activate the changes.
Soil pH changes take time. Retest after 6–8 weeks to confirm your progress. Adjust again if needed—this time, you’ll know exactly how much to add!
Test your soil annually to keep pH stable. Add a light layer of sulfur or organic matter yearly to maintain acidity, especially in rainy climates where pH can rise naturally.
Pro tip: If your hydrangeas are in containers, replace the soil every 2–3 years—potted soil loses its acidity faster. Mix in peat moss or pine fines when repotting to keep the pH in check.
Remember, patience pays off. Hydrangeas may take 2–3 months to show color changes after pH adjustments. Stick with it—those deep blues will be worth the wait!
🌸
Best organic and chemical methods to lower pH for hydrangeas
Lowering your hydrangea soil pH to achieve those coveted blue blooms requires the right approach. Organic methods like peat moss or pine needles are gentle and eco-friendly, while chemical options like sulfur granules or aluminum sulfate offer faster results.
Each method has its own application rates and timing, so choosing the right one depends on your garden’s needs and your comfort level with chemicals.
For organic acidifiers, I recommend starting with peat moss or pine bark fines, which gradually lower pH over time. These are perfect for gardeners who prefer natural solutions and want to avoid synthetic chemicals.
Chemical options, on the other hand, like elemental sulfur or aluminum sulfate, work quicker but require careful handling to avoid over-acidifying your soil.
🌿
| Method | Application Rate | Best Time to Apply | Time to Lower pH | Notes |
|---|---|---|---|---|
| Peat Moss | 1-2 inches per 10 sq ft | Spring or fall | 3-6 months | Gentle, long-term solution |
| Pine Needles | 2-3 inches as mulch | Spring or fall | 6-12 months | Natural, slow-release acidifier |
| Elemental Sulfur | 1-2 lbs per 100 sq ft | Early spring or fall | 1-3 months | Faster results, but test soil regularly |
| Aluminum Sulfate | 1-2 oz per sq ft | Spring or early summer | 1-2 weeks | Fastest option, but can burn plants if overused |
| Cottonseed Meal | 1/2 cup per plant | Spring or fall | 2-4 months | Organic, adds nitrogen too |
When using organic methods, I always recommend applying them in the spring or fall when the soil is moist but not waterlogged. For example, spreading 2 inches of pine needles around your hydrangea base in early spring will slowly acidify the soil over the growing season.
This method is especially useful for gardeners who prefer a low-maintenance approach and want to avoid synthetic chemicals.
If you’re short on time and need quick results, chemical acidifiers like aluminum sulfate are your best bet. Just
For container-grown hydrangeas, I suggest using a pre-mixed acidic potting soil or adding sulfur granules to the soil mix before planting. This ensures your plant has the right conditions from day one. If you’re repotting, mix in 1 part peat moss to 3 parts regular potting soil to maintain the ideal acidic environment.
🌸 Always re-test your soil pH 2-3 months after applying any amendment. This helps you gauge whether you’ve achieved the ideal pH of 5.0-5.5 for blue hydrangeas. If the pH is still too high, you can reapply the amendment in smaller doses until you reach your goal.