
Tools
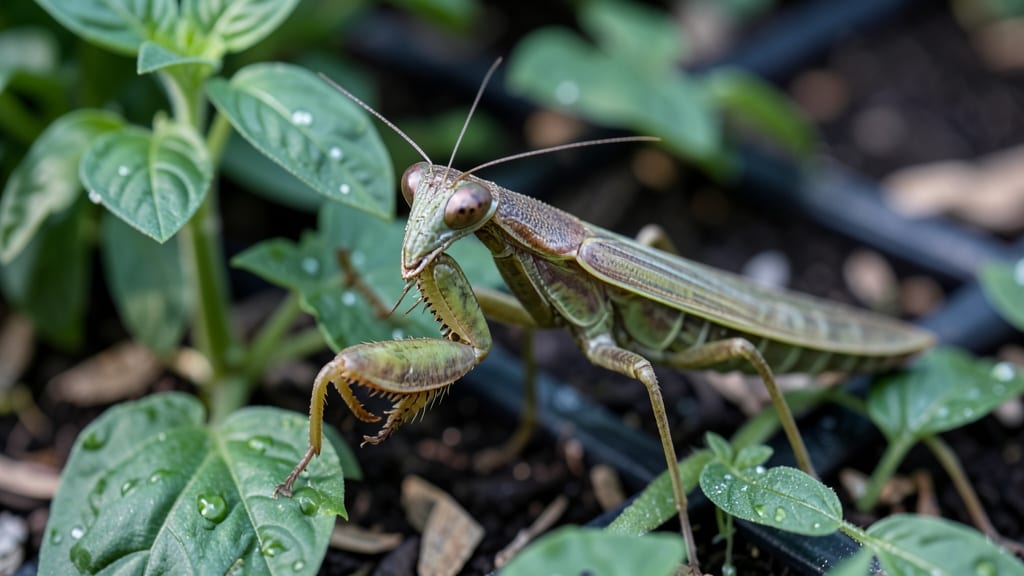
How to keep bugs out of your vegetable garden 🥕 doesn’t require harsh chemicals—just the right physical barriers can save your crops while keeping your garden thriving. Whether you're battling aphids, squash bugs, or cabbage worms, there are simple, effective solutions that work without toxic sprays.
I’ve tested the most reliable methods over the years, and the results speak for themselves: fewer pests, healthier plants, and a more efficient harvest. The key is choosing the right barriers for your specific crops and installing them correctly to maximize protection.
From lightweight row covers to sturdy fences and clever mulching techniques, you’ll discover easy-to-implement strategies that work for any vegetable garden in zone 6a. Let’s dive into the best ways to shield your plants naturally and keep those pesky critters at bay.
You’ll also learn how to avoid common mistakes that make barriers fail—so you can enjoy a bug-free garden all season long. Ready to transform your gardening game? Let’s get started.
Top 5 physical barriers to prevent bugs in vegetable gardens
When pests like aphids, cabbage worms, or squash bugs threaten your vegetable garden, physical barriers offer a chemical-free solution that’s both effective and eco-friendly. These barriers create a protective shield around your plants, preventing insects from reaching them while allowing sunlight, water, and air to pass through.
The best part? Many of these methods are reusable, cost-effective, and easy to install—perfect for gardeners who want to avoid pesticides.
I’ve tested these top 5 physical barriers in my own garden, and they’ve dramatically reduced pest damage without harming beneficial insects like ladybugs or bees. Whether you’re growing leafy greens, tomatoes, or cucumbers, there’s a barrier that fits your needs.
Let’s dive into the details so you can choose the best option for your garden layout and pest pressures.
The following comparison table breaks down each barrier’s effectiveness, ease of use, and best applications. Use this as your guide to select the right tools for your vegetable garden and keep those pesky bugs at bay.
| Barrier Type | Best For | Ease of Use | Effectiveness | Notes |
|---|---|---|---|---|
| Row Covers | Leafy greens, brassicas, carrots | Very Easy | 9/10 | Lightweight fabric blocks flying insects; remove for pollination. |
| Floating Row Covers | Broccoli, lettuce, spinach | Easy | 8/10 | Hovers above plants; allows water/air through. |
| Netting (Fine Mesh) | Fruiting plants (tomatoes, peppers, berries) | Moderate | 10/10 | Blocks squash bugs and cucumber beetles effectively. |
| Collars (Plastic or Cardboard) | Cabbage, broccoli, Brussels sprouts | Easy | 9/10 | Prevents cabbage worms from laying eggs at soil level. |
| Mulching (Straw or Wood Chips) | All vegetables, especially root crops | Very Easy | 7/10 | Suppresses weeds and deters crawling insects like slugs. |
Each of these barriers tackles different types of pests.
For example, row covers are ideal for flying insects like aphids, while netting is the go-to for larger pests such as squash bugs or tomato hornworms. Collars are a game-changer for cruciferous vegetables like cabbage, where pests lay eggs at the base of the plant.
Meanwhile, mulching not only deters pests but also improves soil health and retains moisture—win-win!
If you’re growing tomatoes or peppers, I recommend fine mesh netting for maximum protection. For leafy greens, a floating row cover is lightweight and easy to manage.
And for cabbage-family plants, collars are a must. The key is to match the barrier to the specific pests you’re dealing with in your garden.
One barrier I’ve found particularly versatile is straw mulch. It doesn’t just keep bugs away—it also suppresses weeds and helps retain soil moisture. I apply a 3-inch layer around my carrots and beets to deter carrot flies and slugs.
Plus, it breaks down over time, enriching the soil naturally. It’s a low-maintenance solution that works year after year.
For larger gardens, consider combining multiple barriers. For instance, use row covers over broccoli and netting around tomato plants to create a multi-layered defense. This approach ensures comprehensive protection without overwhelming your garden maintenance routine. The goal is to create
How to install physical barriers for maximum protection
Installing physical barriers correctly is the key to keeping pests at bay without harming your plants or beneficial insects. The timing, materials, and placement all play critical roles in ensuring long-term effectiveness.
Start by selecting the right barrier for your specific crops—lightweight row covers work well for leafy greens, while sturdy netting is better for tomatoes and peppers. Always install barriers before pests arrive, typically in early spring or after transplanting seedlings.
When setting up your barriers, prioritize proper sizing to avoid gaps where pests can sneak in. For example, row covers should extend at least 12 inches beyond the plant base and be secured tightly with brass fasteners or rocks.
If using collar barriers for cabbage worms, ensure they’re 2-3 inches tall and buried slightly to prevent pests from crawling underneath. Always leave room for plants to grow—adjustable stakes or hoops can help maintain coverage as your vegetables mature.
Step-by-Step Installation Guide
- Step 1: Choose the right barrier for your crop (e.g., floating row covers for brassicas, mesh netting for squash bugs).
- Step 2: Install supports like hoops or stakes before laying down the barrier to create a secure frame.
- Step 3: Secure the barrier tightly with clips, weights, or staples to prevent gaps.
- Step 4: Monitor for pests weekly and adjust coverage as plants grow.
- Step 5: Remove barriers during pollination (if needed) and reapply after flowering.
Proper ventilation is another critical factor—overly tight barriers can trap heat and moisture, leading to fungal issues. Use lightweight, breathable materials like floating row covers for crops that need pollination, and remove them temporarily if bees are needed.
For permanent barriers, like fencing for rabbits, bury the bottom edge 6-12 inches deep to deter digging pests. Always check for tears or holes weekly and repair them immediately to maintain effectiveness.
Timing your installation is just as important as the method. For example, cabbage loopers and aphids are most active in early summer, so install barriers by late spring to catch them early.
If you’re dealing with squash bugs, apply row covers at planting time since these pests lay eggs in the soil. For tomatoes and peppers, use mesh netting as soon as seedlings are transplanted to prevent hornworms from devouring your plants overnight.
Don’t forget to consider the long-term maintenance of your barriers. Clean and store them after the growing season to prevent mold or pest infestations in storage. For mulching, refresh the layer every few weeks to maintain its effectiveness against soil-dwelling pests like cutworms.
By following these steps, you’ll create a robust defense system that keeps your vegetable garden thriving without relying on harmful chemicals.
With the right installation techniques, physical barriers can provide up to 90% pest protection while preserving the health of your soil and plants. The key is consistency—check your barriers regularly and adjust as needed to stay ahead of pests.
Your garden will thank you with a bountiful, bug-free harvest! 🌱