
Flowers
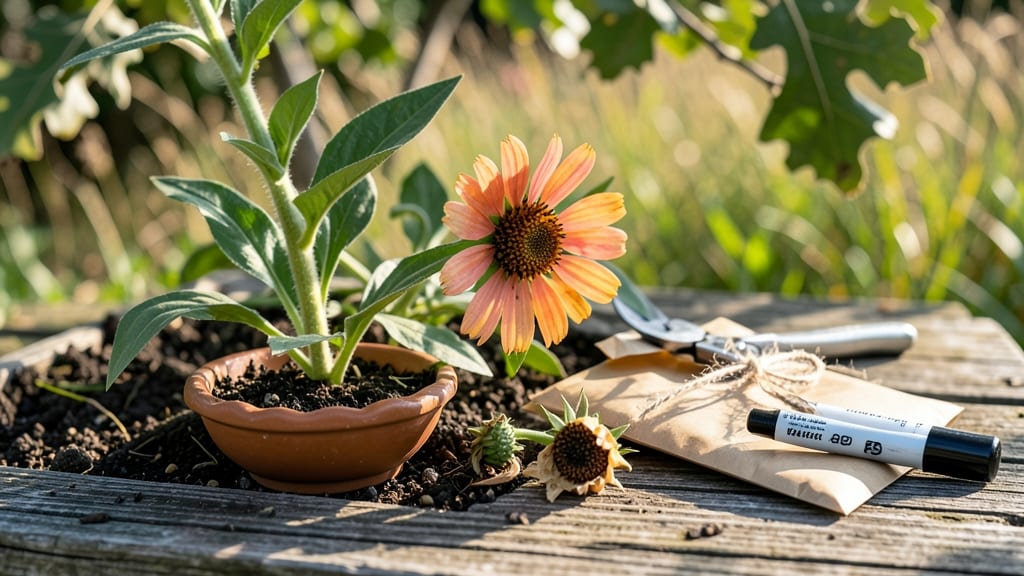
How to get zinnia seeds from the flowers is the easiest way to save seeds for next year. 🌻 I’ve been harvesting zinnia seeds for years, and the best time to collect them is after the blooms fade and the seed heads turn brown—just before they split open on their own. The process is simple but requires patience: let the dried seed heads stay on the plant until they crack naturally (usually late summer or early fall), then gently rub the pods between your fingers to release the seeds. Store them in a cool, dry place until planting season. You’ll end up with seeds that are just as viable as store-bought ones, and saving them means you can grow your favorite varieties year after year. The dried seed heads also add rustic charm to winter bouquets if you collect them before they fully open. This method works for all zinnia types—dwarf, giant, or trailing—and saves you money while keeping your garden’s unique colors alive. Ready to try it?
📚 In This Guide
- What you need
- Instructions
- Tips and common mistakes
- Wrapping up and next steps
What you need
- ● Mature zinnia flowers – Choose healthy, fully bloomed zinnias with seed heads that are brown and dry (not green or greenish-brown). Aim for 10–20 flowers depending on your needs.
- ● Paper bags or envelopes – 2–3 breathable brown paper bags (or seed envelopes) to store seeds and prevent moisture buildup.
- ● Scissors or pruning shears – A small pair of sharp scissors (or clean pruners) to snip seed heads cleanly.
- ● Labeling supplies – Pencil or marker + sticky notes or masking tape to label bags with the zinnia variety and date.
- ● Glove – A lightweight gardening glove to protect hands from prickly seed heads.
- ● Seed tray or small container – For drying seeds indoors (if weather is damp).
- ● Fine mesh sieve – To separate seeds from chaff (only needed if pods are stubborn!)
- ● Desiccant packet – A small silica gel packet (from shoe boxes) to absorb excess moisture in seed bags.
Step-by-step instructions for harvesting zinnia seeds from flowers
Here’s how to collect seeds from your zinnias—no fancy tools, just patience and a little know-how.
🌿 Step 1: Let Flowers Fully Bloom and Dry on the Stem
Leave the flower heads on the plant until they’ve completely dried and turned brown. This usually takes 2-3 weeks after blooming, depending on your climate. You’ll know they’re ready when the petals fall away naturally, leaving a papery, brown seed pod behind.
Don’t rush this step—if you cut them too early, the seeds won’t mature properly. I always wait until the center of the flower looks like a dried, crinkled ball. This ensures the seeds inside are fully developed and ready for harvest.
🌱 Step 2: Collect the Dried Seed Pods
Gently twist the dried flower head off the stem and place it in a paper bag or envelope. Avoid using plastic—it traps moisture and can cause mold. I like to label the bag with the zinnia variety and the year, so I don’t mix them up later.
If the pods are still stubbornly attached, use clean scissors to snip them off. Be careful not to crush the pods, as this can damage the seeds inside. Once collected, store the pods in a dry, cool place until they’re ready to crack open.
✂️ Step 3: Break Open the Seed Pods to Release Seeds
After 1-2 weeks of drying indoors, the pods will naturally split open. If they don’t, gently squeeze them between your fingers over a clean surface—like a sheet of paper or a small bowl—to release the seeds. You’ll see tiny, dark seeds surrounded by fluffy, papery chaff.
Don’t worry if some seeds stick to the chaff—it’s normal. Just spread everything out on the paper and let the wind or a gentle shake separate them. The heavier seeds will settle first, while the lighter chaff blows away.
🪴 Step 4: Clean and Store the Seeds
Use a fine-mesh strainer or sifter to remove any remaining chaff from the seeds. This step ensures you’re left with pure, viable seeds for next season. I like to store them in a small, airtight container—like a glass jar or envelope—with a silica gel packet to keep moisture out.
Label the container with the zinnia variety and the harvest date. Seeds like zinnias stay viable for 2-3 years when stored properly, so there’s no rush to plant them right away. Just keep them in a cool, dark place until you’re ready to start them indoors.
⏰ Step 5: Test Germination (Optional but Helpful)
If you’re unsure about seed viability, do a quick germination test. Place 10 seeds between a damp paper towel and another dry one in a sealed plastic bag. Keep them in a warm spot (around 70°F) and check for sprouts in 7-10 days. If most of them sprout, your seeds are ready to plant!
This step gives you peace of mind before you invest time in starting seeds. I always do this test, especially if the zinnias were grown in less-than-ideal conditions. It’s a small effort that saves a lot of frustration later.
Tips & tricks for perfect zinnia seed harvesting
These little details make all the difference when collecting zinnia seeds—trust me, I've learned them the hard way!
Timing is Everything: That 2-3 week drying period on the stem is critical. I've tried rushing it and ended up with shriveled, non-viable seeds. The key is patience—wait until the petals fall away completely and the center turns that distinctive papery brown. If you're unsure, give it another week rather than cutting too soon.
Storage Wisdom: After collecting those dried pods, store them in a cool, dry place away from direct sunlight. I keep mine in a cardboard box with a few holes for airflow—this prevents moisture buildup that could lead to mold. Never use plastic bags, as they trap humidity and ruin your seeds. A simple paper bag works perfectly for short-term storage before you crack them open.
Seed Separation Hack: When you're separating seeds from chaff, try this trick: place everything on a clean white sheet of paper and gently shake it near an open window. The breeze will carry away most of the chaff while the heavier seeds settle. This method is faster than sifting and gives you cleaner seeds with less effort. Just be patient—it might take a few minutes for all the chaff to disperse.
Germination Test Insight: For that optional germination test, I've found 70°F is ideal but not critical—my seeds have sprouted just fine at room temperature (around 68°F) in my kitchen. The key is keeping the paper towels consistently damp, not soaking wet. I like to check them every other day to monitor progress without disturbing them too much.
Pro Tips for Get Zinnia Seeds From Flowers
- These little details make all the difference when collecting zinnia seeds—trust me, I've learned them the hard way!
- Timing is Everything: That 2-3 week drying period on the stem is critical. I've tried rushing it and ended up with sh...
- Storage Wisdom: After collecting those dried pods, store them in a cool, dry place away from direct sunlight. I keep ...
Frequently asked questions
Got questions about harvesting zinnia seeds? You’re not alone! Here are some common concerns—and their answers—to help you succeed.
How do I know when zinnia seeds are ready to collect?
Zinnia seeds are ready when the flower heads turn brown and dry out. The seed pods will crack open naturally—wait for this to happen before harvesting. If you pick them too early, the seeds won’t be fully mature. Look for a crisp, papery texture as your cue!
What if my zinnias don’t produce seeds?
Several factors can prevent seed formation: over-fertilizing, lack of sunlight, pests, or deadheading too late. Try leaving some flowers to bloom fully, ensuring they get 6+ hours of sunlight daily, and avoid heavy fertilizers. If pests are an issue, use neem oil or companion planting to protect your zinnias.
Can I save seeds from hybrid zinnias?
Most hybrid zinnias (like ‘Benary’s Giant’ or ‘Profusion’) won’t produce true-to-type seeds, meaning the next generation may look different. For reliable seeds, stick to heirloom or open-pollinated varieties, such as ‘State Fair’ or ‘Crystal.’ Check seed packets for labels!
How should I store zinnia seeds for next year?
Once dried, place seeds in a paper envelope or airtight container with a silica gel packet to absorb moisture. Store in a cool, dark place (like a fridge) for up to 3–5 years. Label with the variety and date to stay organized!Why are my zinnia seed heads attracting bees or wasps?
Bees and wasps are drawn to protein-rich pollen and nectar in drying flower heads. While they’re harmless, you can gently shake pods into a bag to collect seeds before they become a buffet. Alternatively, harvest seeds early in the morning when pests are less active.
Wrapping up and next steps
You’ve now got all the know-how to turn your blooming zinnias into fresh seeds for next season! 🌱 With patience and a little care, you’ll soon be harvesting seeds that’ll grow into vibrant flowers year after year. Ready to put your new skills to work?
Start by planting those saved seeds in your garden—watch as your zinnias return with even more beauty and color. Happy gardening!