
Propagation
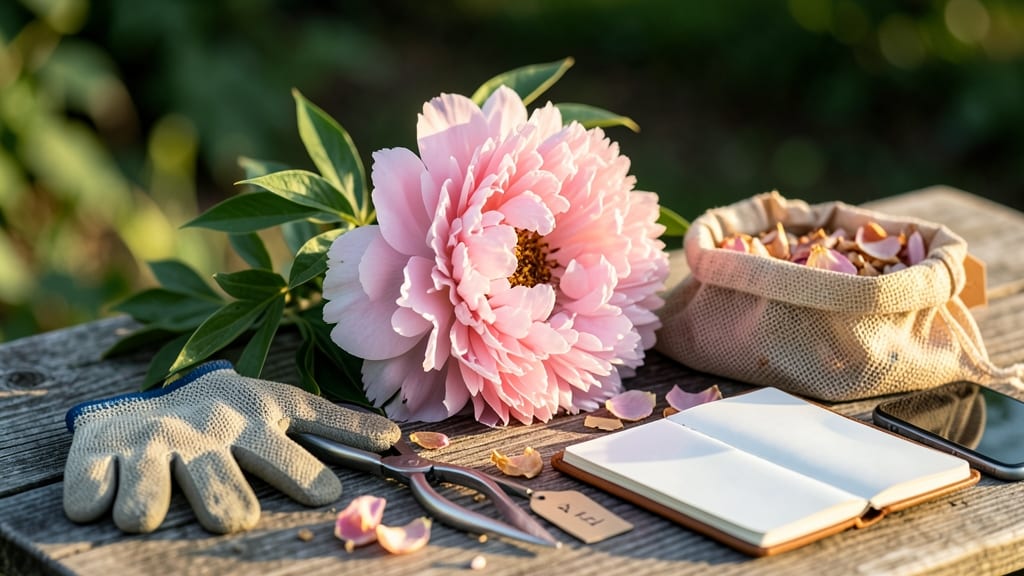
How to get peony seeds from the flower—it starts with those puffy pink pods hiding after the blooms fade. 🌸 I spent years admiring my peonies—until I finally cracked the secret to collecting seeds from them. It’s not the usual way to grow peonies (divisions work better), but there’s something thrilling about nurturing a flower from a tiny seed. The pods turn from green to brown and papery when ready—usually 6-8 weeks after flowering. That’s your cue to harvest them before they split open. Inside, you’ll find flat, dark seeds that look more like tiny beans than the flowers they’ll become. Viability is the catch: only about 10-20% of seeds will germinate, and it takes 2-3 years for seedlings to bloom. But the wait? Worth it for the satisfaction of growing something from scratch. Just don’t expect the same vibrant blooms as divisions—these will be wild, unpredictable, and maybe even better. Grab a pair of scissors and a paper bag—those are your only tools. Snip the pods when they’re dry but still intact, then let them sit in the bag for another week to finish drying. Store them in a cool, dark place until planting season. The real magic happens in late fall or early spring, when you’ll plant the seeds just below the soil surface. No need for special soil—just good drainage. Patience is key here, but the journey from seed to bloom is what makes it special.
📚 In This Guide
- What you need
- Instructions
- Tips and common mistakes
- Wrapping up and next steps
What you need
- ● Mature peony pods: Fully ripened, brown, and slightly papery seed pods (harvest when they split open naturally or turn dry and brittle).
- ● Pruning shears or sharp scissors: For cleanly snipping open pods or stems (sterilize with rubbing alcohol if reusing).
- ● Paper bags or breathable containers: 2–3 medium-sized brown paper bags (or mesh bags) to collect seeds and pods.
- ● Tweezers or small spoon: For gently extracting seeds from pods (avoid crushing delicate seeds!).
- ● Labeling tags & permanent marker: To track seed varieties (e.g., "Heritage Pink Peony – Fall 2023").
- ● Damp paper towels or seed-starting mix: For short-term seed stratification (if storing before planting).
- ● Plastic zip-top bags: 1–2 resealable bags (for temporary seed storage in a cool, dark place).
- ● Magnifying glass: For inspecting seed viability (look for plump, unblemished seeds).
- ● Humidity tray: To create a mini greenhouse for germinating seeds indoors.
- ● Seed viability test kit: For advanced gardeners checking germination rates.
- ● Gloves: To protect hands from peony sap (can irritate sensitive skin).
- ● Journal/notebook: To log pod ripening dates, seed counts, and germination progress.
Step-by-Step instructions for harvesting peony seeds
Peony seeds are a gardener's hidden treasure—here's how to collect them without the guesswork.
🌱 Step 1: Identify and Select Healthy Seed Pods
Look for seed pods that develop after your peonies bloom, usually appearing in late summer or early fall. These pods are typically 1-2 inches long, green when young, and turn brown as they mature. Choose pods that are fully formed but still firm to the touch—avoid any that feel soft or mushy, as they may be rotting or overly mature.
I always wait until the pods are completely dry and papery before harvesting. This usually happens when they've turned a deep brown color and start to split open slightly at the seams. If you pick them too early, the seeds inside won't be fully developed, and if you wait too long, they'll scatter on their own.
⏰ Step 2: Harvest Pods at Peak Ripeness
Harvest the seed pods on a dry day when the weather is calm. Use clean, sharp pruning shears to snip the pods from the stem, leaving about ½ inch of stem attached. This helps prevent the seeds from falling out during collection. Place the pods in a paper bag or envelope to allow them to dry further and prevent moisture buildup.
Here's the thing—don't rush this step. If you harvest too early, the seeds inside won't be viable. Wait until the pods are completely dry and crispy, and you'll know they're ready when they rattle slightly when shaken. This sound means the seeds are fully mature and ready for extraction.
🌿 Step 3: Extract Seeds and Prepare for Storage
Once the pods are fully dry, gently squeeze them to release the seeds. You'll find that peony seeds are quite large—about the size of a small pea—and typically dark brown or black. Remove any debris or empty seed casings, and set the seeds aside to dry for an additional 1-2 days in a dry, well-ventilated area.
I like to spread the seeds out on a clean paper towel in a single layer. This ensures they dry evenly and prevents mold from forming. Once completely dry, store the seeds in a cool, dry place in a sealed container or envelope. Peony seeds can remain viable for years if stored properly, so there's no rush to plant them right away.
💧 Step 4: Stratify Seeds for Successful Germination
Peony seeds require a period of cold stratification to break dormancy. Place the dried seeds in a sealed plastic bag with a small amount of damp sand or vermiculite. Seal the bag and refrigerate it for 3-4 months at a temperature between 35-45°F. This mimics the natural winter conditions that trigger germination.
After the stratification period, plant the seeds in well-draining soil, about ½ inch deep. Peony seeds are slow to germinate—sometimes taking 2-3 months or even longer. Be patient and keep the soil consistently moist but not soggy. Once the seedlings emerge, they'll grow slowly at first but will eventually develop into strong, hardy plants.
☀️ Step 5: Transplant Seedlings and Provide Care
When the seedlings are about 3-4 inches tall and have developed a few true leaves, they're ready to be transplanted to their permanent location. Choose a spot with full sun to partial shade and well-draining soil. Dig a hole slightly larger than the seedling's root ball and place it in the hole, covering the roots with soil and pressing gently to eliminate air pockets.
Water the seedlings thoroughly after transplanting to help them establish. Peonies are drought-tolerant once established, but young seedlings need regular watering to encourage strong root growth. Avoid overwatering, as peonies hate soggy soil. With proper care, your peony seedlings will grow into beautiful, long-lived plants that reward you with stunning blooms for decades.
Tips & tricks for perfect peony seed collection
These little-known cues will help you harvest viable peony seeds without the frustration of wasted effort.
Visual Cues for Step 1: In Step 1, when selecting seed pods, look for that telltale split along the seams—it's your signal that the pods are ready. I've learned to check pods in the morning when they're dry; the slight opening is easier to spot then. Avoid any pods that have already split open completely, as the seeds will have already scattered.
Harvesting Technique for Step 2: The key in Step 2 is that half-inch stem attachment—it's not just about preventing seed loss. That small stem connection helps keep the pod intact during the drying process. I've found that using small paper envelopes instead of bags helps prevent moisture buildup better than plastic bags, especially if you're harvesting on a humid day.
Seed Drying Strategy: After extraction in Step 3, don't be tempted to rush the drying process. That additional 1-2 days of drying time is crucial for preventing mold. I spread my seeds on a clean kitchen towel rather than paper towels because it's easier to see any potential mold spots developing early. The seeds should feel completely dry to the touch before storing.
Stratification Insight: For Step 4's cold stratification, I've had success using a simple ziplock bag with dampened paper towels instead of sand—it's easier to monitor moisture levels. Place the bag in your refrigerator's crisper drawer where temperatures naturally stay between 35-45°F. The damp paper towels help maintain consistent moisture without making the seeds soggy.
Pro Tips for Get Peony Seeds From Flower
- These little-known cues will help you harvest viable peony seeds without the frustration of wasted effort.
- Visual Cues for Step 1: In Step 1, when selecting seed pods, look for that telltale split along the seams—it's your s...
- Harvesting Technique for Step 2: The key in Step 2 is that half-inch stem attachment—it's not just about preventing s...
Frequently asked questions
When is the best time to collect peony seeds?
The ideal time is late fall to early winter (November–January) after the seed pods turn brown, dry, and begin splitting open naturally. Harvest them before they release seeds on their own—this ensures maximum viability. Avoid collecting green or unripe pods, as they won’t yield viable seeds.
What if my peony pods never open or stay green?
If pods stay green or fail to open, they’re likely underripe. Try these fixes: ensure your peony gets full sun (6+ hours/day), well-draining soil, and consistent moisture. Overcrowding or poor airflow can also delay ripening. If pods still refuse to open, they may not produce seeds—peonies often rely on cross-pollination, so try planting multiple varieties nearby.
Can I grow peonies from seeds, or should I just buy rooted plants?
While possible, growing peonies from seeds is slow—it can take 3–5 years for seedlings to bloom! Seeds also don’t guarantee the parent plant’s traits (color, size, or type). For faster results, buy rooted divisions from nurseries. Save seeds only for experimentation or if you’re patient (and lucky!).
How do I store peony seeds until planting?
Once collected, let seeds dry in a paper bag for 1–2 weeks in a cool, dry place. Store them in an airtight container with silica gel or a moisture absorber in the fridge (35–40°F). Seeds remain viable for 1–2 years if stored properly. Label containers with the date to track freshness!
Why aren’t my peony seeds germinating?
Peony seeds need cold stratification (a winter-like chill) to break dormancy. If they’re not germinating, try this: Mix seeds with moist sand, refrigerate for 4–6 weeks, then plant outdoors in fall. Poor soil (too rich or compacted) or inconsistent moisture can also stall growth. Be patient—germination can take months!
Wrapping up and next steps
Growing peonies from seeds is a rewarding journey that starts with patience and a keen eye for nature’s cues! 🌱 By following these steps—from identifying ripe seed pods to proper drying, stratification, and planting—you’ll unlock the potential to cultivate new peony varieties. Remember, success hinges on timing and care, so stay observant and gentle with each stage.
Ready to take the next step? Start small:
- Experiment with just a few pods to refine your technique.
- Document your process—note ripening times, germination rates, and growing conditions.
- Share your progress with fellow gardeners for tips and encouragement!