
Propagation
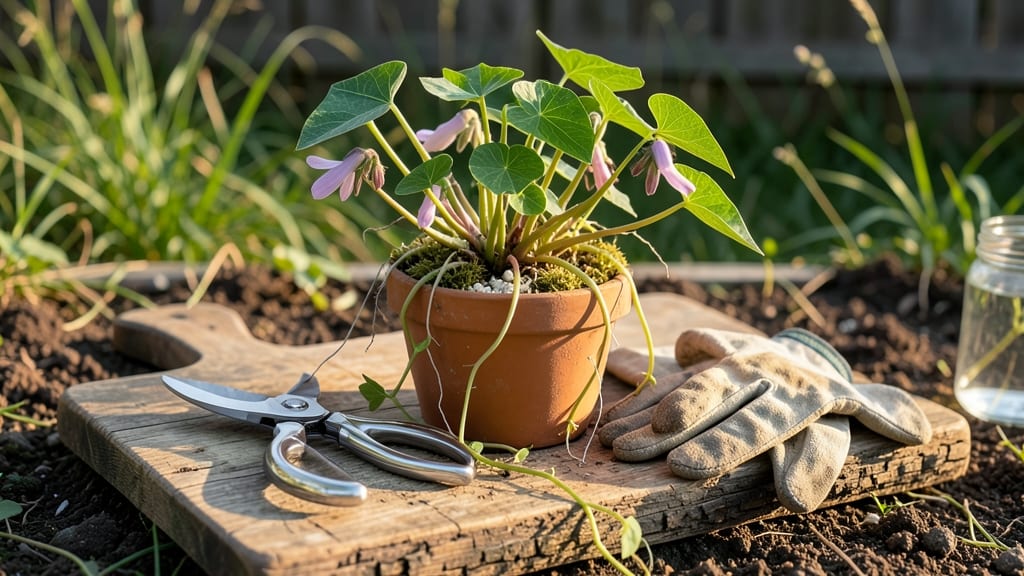
Sweet potato slips grow like weeds—until you try cutting them. ✂️ The right cut makes all the difference between thriving plants and sad, rotten stubs. I’ve propagated hundreds of slips, and this no-clippers method works every time, even with dull tools.
Start with slips that have 3-4 inches of stem and at least two leaves. Use a sterilized knife (rubbing alcohol works) to slice just above a leaf node—this is where roots will sprout.
No clippers? A sharp butter knife or even a clean screwdriver does the job. The cut should be clean, not jagged, to prevent rot.
Let the slips heal for 1-2 hours before planting. This callus forms a natural barrier against disease. Place them in water or moist potting mix, keeping them in bright, indirect light. Within 2-3 weeks, you’ll see roots forming—proof you did it right.
Troubleshooting is simple: if slips rot, you cut too close to the stem or didn’t sterilize tools. Too many leaves? Trim back to encourage root growth. This method works for any sweet potato variety, and once you master it, you’ll never buy slips again.
📚 In This Guide
- What you need
- Instructions
- Tips and common mistakes
- Wrapping up and next steps
What you need
- ● Sweet potatoes: 1–2 medium-sized, organic sweet potatoes (preferably with visible "eyes" or sprouts)
- ● Glass jars: 4–6 clean, empty glass jars (16–20 oz size, like mason jars or soda bottles) with lids
- ● Water: Tap or distilled water (room temperature, ~1 quart per jar)
- ● Sharp knife or pruning shears: A clean, sterilized blade (or scissors in a pinch)
- ● Paper towels or coffee filters: 1–2 sheets per jar (to cover the jar opening)
- ○ Rubbing alcohol (70%+): For sterilizing tools and jars (optional but recommended)
- ● Bright, indirect light source: A sunny windowsill or grow light (6+ hours of light daily)
- ● Hydrogen peroxide (3%): 1–2 drops per jar to prevent bacterial growth
- ● Aspirin or cinnamon: A crushed tablet or pinch to boost rooting (fun science hack!)
- ● Plant labels: To track varieties if using multiple tubers
- ● Grow tent or humidity dome: For faster sprouting in cooler climates
- ● Garden soil or coconut coir: For transplanting slips later
Step-by-step instructions for cutting sweet potato slips
Here’s how to propagate sweet potato slips without clippers—just a sharp knife and patience.
🌱 Step 1: Select Healthy Sweet Potatoes
Pick firm, disease-free sweet potatoes with visible sprouts—these are your slips. Avoid soft or shriveled tubers, as they won’t root well. I like to choose ones with 3-4 inch sprouts for the best success. Store them in a warm, bright spot for a few days to encourage sprouting if needed.
Run your finger along the sprouts to check for firmness. If they feel mushy or hollow, discard that potato. Healthy sprouts should be tight and crisp, not brittle. This ensures strong root development later.
✂️ Step 2: Cut Below the Node
Use a clean, sharp knife to slice just below the node where the sprout meets the potato. Angle the cut slightly to maximize surface area for rooting—this prevents rot. I cut about ½ inch below the sprout to include part of the tuber, which provides nutrients during propagation.
Don’t use scissors or dull blades—they crush the tissue, inviting infection. A single, smooth cut ensures a clean wound that heals faster. If your knife isn’t sharp, sharpen it first or use a fresh razor blade for precision.
💧 Step 3: Prepare the Slips for Water
Let the cut ends dry for 10-15 minutes to callous over slightly. This prevents rot when placed in water. I set them on a paper towel in a warm spot while I prepare the jars. Avoid direct sunlight during this step—it can dry them too quickly.
Once calloused, place each slip in a glass jar filled with 2-3 inches of water. Submerge only the cut end—never the sprout or leaves. You’ll see tiny bubbles form at the base as roots begin to grow within 3-5 days. Change the water every 2-3 days to keep it fresh.
☀️ Step 4: Provide Light and Monitor Growth
Set the jars in a spot with bright, indirect light—a south-facing window works well. Avoid harsh afternoon sun, which can scorch new leaves. You’ll notice roots reaching 1-2 inches in about 2 weeks, signaling it’s time to plant.
Watch for leggy growth (long, thin stems). If this happens, rotate the jars daily so the slips grow straight. Healthy slips develop small leaves and sturdy stems—these are ready for transplanting when roots fill the jar.
🪴 Step 5: Transplant Slips to Soil
Fill small pots with well-draining potting mix and plant slips 1 inch deep, burying the calloused end. Gently firm the soil around the base to eliminate air pockets. Water lightly until moisture drains from the bottom.
Keep the soil evenly moist but not soggy for the first 2 weeks. You’ll see new growth within 7-10 days—this means the roots have established. Once slips reach 6 inches tall, they’re ready to move to larger containers or the garden.
Tips & tricks for perfect sweet potato slip propagation
Here's what I learned after trying this method three times—these tricks make all the difference.
Sprout Selection: Look for sprouts that are tight and crisp when you run your finger along them. I've found that sprouts with a slight curve (not perfectly straight) often root faster. Avoid any that feel hollow or mushy—they won't develop strong roots. This step is critical because weak sprouts lead to leggy slips that flop over when planted.
The Cutting Technique: When you make your ½-inch angled cut below the node in Step 2, be consistent with the angle—about 30 degrees works best. I use a fresh razor blade for precision, especially when cutting multiple slips. The angled cut increases surface area for rooting while preventing the water from sitting directly on the cut end, which can cause rot. Don't rush this step—clean cuts heal faster and root more reliably.
Water Quality Matters: While the instructions call for changing water every 2-3 days, I've found that using filtered or rainwater speeds up root growth. The minerals in tap water can sometimes slow down the rooting process. Also, make sure your jars are clean—any soap residue can inhibit root development. I rinse mine thoroughly before use, even if they're brand new.
Lighting Strategy: For the bright, indirect light requirement in Step 4, I've had the best results using a simple LED grow light on a timer for 12 hours a day. This gives you consistent lighting regardless of weather or season. If you don't have a grow light, rotate your jars every few days so all sides get equal exposure. You'll notice roots growing faster when the slips receive consistent light from all directions.
Pro Tips for Cut Sweet Potato Slips
- Here's what I learned after trying this method three times—these tricks make all the difference.
- Sprout Selection: Look for sprouts that are tight and crisp when you run your finger along them.
- The Cutting Technique: When you make your ½-inch angled cut below the node in Step 2, be consistent with the angle—about 30 degrees works best.
Frequently asked questions
Got questions about cutting sweet potato slips without clippers? You’re not alone! Here are some of the most common concerns—and their easy solutions—to help you grow like a pro.
Can I cut sweet potato slips without any special tools?
While pruning shears make the job cleaner, you can use sharp kitchen scissors, a utility knife, or even clean, sturdy garden shears. Just ensure your tool is sanitized to prevent disease. Pro tip: A butter knife works in a pinch—just be extra careful!
How long do I need to wait before cutting slips?
Wait until your sweet potato vine has at least 4–6 inches of growth and 2–3 nodes (those little bumps where leaves sprout). Cutting too early stresses the plant, while waiting too long makes slips harder to root. Best time? Morning—fresh cuts heal faster in cool, humid conditions.
What if my slips fall over after cutting?
Slips may wilt temporarily—that’s normal! Place them in water immediately to hydrate roots, then transplant to soil within 24 hours. Prop them up with toothpicks or a small stake if needed. Keep humidity high (like a plastic bag over the pot) to speed up recovery.
Can I reuse the mother plant after cutting slips?
Yes! The parent vine can regrow new slips if it’s healthy. Just trim back any damaged leaves, fertilize lightly, and keep it well-watered. However, expect fewer slips over time—after 2–3 cuttings, consider starting fresh with a new tuber.
What if my slips rot after cutting?
Rot usually means overwatering or dirty cuts. Always cut just above a node (not through it) and let the wound dry for 1–2 hours before planting. Use sterile potting mix and avoid soggy soil. Fun fact: A sprinkle of cinnamon on cuts can act as a natural antifungal!
Still stumped? Drop your question in the comments—we’re happy to help you grow!
Wrapping up and next steps
Cutting sweet potato slips is a rewarding way to grow your own plants without clippers—just a little patience and creativity! 🌱 By following these simple steps, you’ll soon have thriving slips ready for transplanting. Now’s your chance to try it! Start with a few slips, experiment with different sweet potato varieties, and watch your garden flourish.
Ready to take the next step? Share your progress or ask questions in the comments—we’d love to see your slip-growing journey! Happy propagating!