
Tools
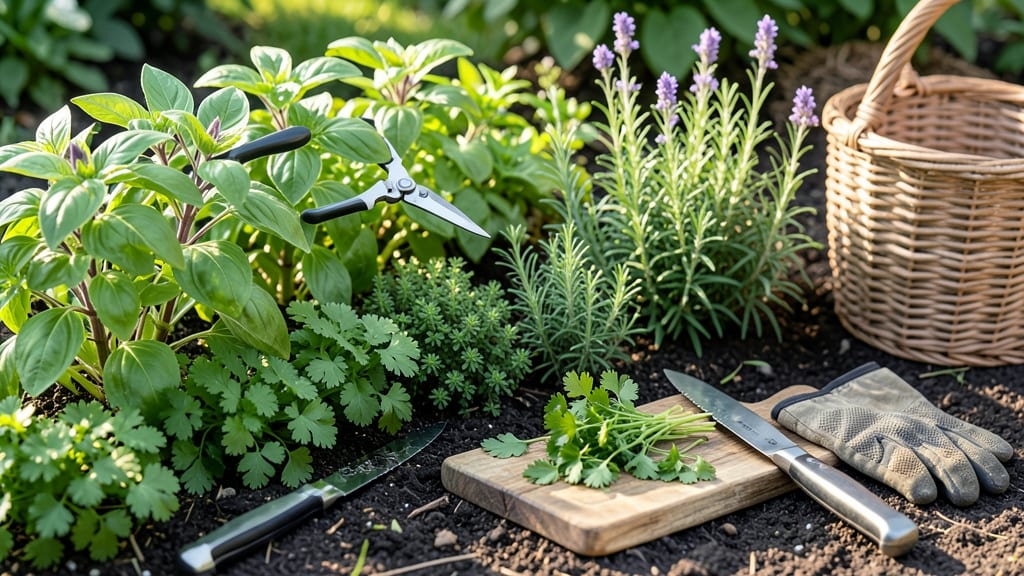
Your kitchen deserves herbs that burst with flavor—not just any leaves from the garden. ✂️ The way you cut matters more than you think: wrong snips mean limp stems and lost growth, while the right technique keeps plants thriving and your cooking vibrant.
Start with clean, sharp bypass pruners or small scissors—dull blades crush stems, inviting disease. Cut just above a leaf node (that little bump where leaves grow), leaving at least two sets of leaves on the stem.
This encourages bushier growth, so you’ll harvest more over time. Morning is prime time: herbs are driest, oils most concentrated, and flavors peak.
Basil needs frequent trimming to prevent flowering, while rosemary thrives with less frequent but bold cuts. After harvesting, rinse gently, pat dry, and store stems in water (like flowers) or bundle leaves with rubber bands to dry upside down.
The right cut today means a year of lush, flavorful harvests—no more sad, leggy plants.
Pro tip: Label your herbs with twine tags if you grow many varieties. And if a plant looks stressed after cutting, give it a drink—herbs bounce back fast when you respect their rhythm. Ready to transform your garden into a flavor factory?
📚 In This Guide
- What you need
- Instructions
- Tips and common mistakes
- Wrapping up and next steps
What you need
- ● Sharp herb scissors or pruning shears: Choose bypass-style (for clean cuts) or straight-cut (for bulk harvesting). Look for stainless steel blades (4-6 inches long) to avoid rust and ensure durability. Required: 1 pair.
- ● Clean kitchen knife or herb knife: A 4-6 inch chef’s knife with a serrated or straight edge works best for finer trimming. Required: 1 knife.
- ● Cutting board: A soft-surface board (like bamboo or plastic) to protect your herbs and blades. Required: 1 board.
- ● Glass jars or airtight containers: For storing fresh herbs. Opt for 8-16 oz jars with wide mouths for easy packing. Required: 2-4 jars.
- ● Paper towels or clean kitchen towel: To pat herbs dry before storage. Required: 1 roll or 2-3 towels.
- ● Herb drying rack or mesh bags: For air-drying herbs like thyme, rosemary, or oregano. Look for breathable, food-safe materials.
- ● Food processor or blender: For chopping large batches of herbs into pesto, garnishes, or frozen herb packs.
- ● Plastic wrap or beeswax wraps: To extend freshness by wrapping stems tightly before refrigeration.
- ● Labeling markers or tags: To mark jars with herb names and harvest dates (trust us, you’ll forget!).
- ● Gloves (nitrile or cotton): If your herbs have thorns (like rosemary) or you’re sensitive to oils (e.g., mint).
- ● Mature herbs: Wait until plants are fully established (4-6 weeks after transplanting) for maximum flavor and yield.
- ● Clean workspace: Wipe down your cutting board and tools with hot, soapy water or a vinegar solution to prevent bacterial growth.
- ● Morning harvest: Cut herbs in the early morning when oils are most concentrated and moisture levels are ideal.
Step-by-step instructions for harvesting herbs like a pro
Harvesting herbs right means more flavor, bushier growth, and plants that keep producing all season.
✂️ Step 1: Identify the Right Time to Harvest
Wait until your herbs have at least 3-4 sets of true leaves—those are the mature leaves with the best flavor. For leafy herbs like basil and parsley, you'll see bright green, fully formed leaves ready for cutting. For woody stems like rosemary or thyme, harvest after the plant has established 6-8 inches of growth—this ensures you're not cutting into the main stem.
Morning is the best time to harvest. The oils that give herbs their flavor are most concentrated right after the dew dries but before the midday heat stresses the plant. You'll notice the leaves feel plump and crisp in the morning, while afternoon harvests often yield slightly wilted stems.
🌿 Step 2: Choose the Correct Cutting Method
For leafy herbs like basil, parsley, and cilantro, cut just above a leaf node (where a leaf meets the stem). This encourages new growth from that point. Use clean, sharp scissors or pruning shears—dull blades crush stems and invite disease. I like to make my cuts at a 45-degree angle to increase surface area for water absorption and faster healing.
For herbs with woody stems like rosemary, thyme, or oregano, trim back ¼ to ⅓ of the plant's height in early spring. This pruning stimulates bushier growth and prevents the plant from becoming leggy. Always cut just above a set of leaves or a side branch—never leave a stub of bare stem.
💧 Step 3: Maintain Plant Health After Harvesting
After harvesting, water the plant deeply to compensate for any moisture lost through cutting. The soil should feel damp 2-3 inches down—stick your finger in to check. Avoid overhead watering for 24 hours after cutting, as wet foliage can lead to fungal issues. Instead, water at the base to keep leaves dry.
Remove any yellow or damaged leaves immediately after harvesting. These leaves are no longer contributing to the plant's health and can harbor pests. I also like to give my herbs a quick shake before bringing them inside—this dislodges any hidden pests or debris that might have hitched a ride with the harvest.
☀️ Step 4: Store Harvested Herbs Properly
For fresh use, store herbs in a loosely wrapped damp paper towel inside a sealed plastic bag. Place them in the fridge, where they'll stay fresh for 5-7 days. The key is keeping the leaves slightly damp but not soggy—this mimics their natural environment and slows wilting.
If you're drying herbs, bundle the stems together and hang them in a dark, dry, well-ventilated spot with temperatures between 70-80°F. It typically takes 1-2 weeks for herbs to dry completely. You'll know they're ready when the leaves crisple easily and break off the stem with a slight crackle.
⏰ Step 5: Establish a Harvesting Schedule
Leafy herbs like basil and cilantro benefit from weekly harvesting throughout the growing season. This frequent cutting encourages dense, flavorful growth. Woody herbs like rosemary and thyme can handle monthly pruning in spring and summer, with a more aggressive trim in early spring to shape the plant.
Never harvest more than ⅓ of the plant at one time, especially for young or newly transplanted herbs. This rule prevents overstressing the plant and ensures it has enough energy to recover and continue growing. You'll see the difference in just a few weeks—plants that are regularly harvested stay lush and productive, while neglected ones become sparse and leggy.
Tips & tricks for perfect herb harvesting
These precision techniques will help you harvest herbs that stay fresher longer and keep your plants thriving for seasons to come.
Timing is Everything: I've found that harvesting leafy herbs like basil and parsley just after morning dew has evaporated but before 10 AM gives the most vibrant flavor. The leaves feel plump and crisp at this time, and the aromatic oils are at their peak concentration. For woody herbs, early spring is ideal when new growth has reached 6-8 inches—this ensures you're cutting above the main stem without harming the plant's structure. If you must harvest in the afternoon, do it after 4 PM to avoid the wilting that comes with midday heat.
The Angle Matters: When cutting leafy herbs, make your snips at a 45-degree angle just above a leaf node. This isn't just about looks—it increases the surface area where new growth can emerge, and the angled cut helps water run off more efficiently. For woody herbs, trim back ¼ to ⅓ of the plant's height in early spring, always cutting above a leaf or side branch. I've seen plants that were regularly pruned this way grow twice as bushy compared to those that were just hacked at randomly.
Tool Selection: Never use dull scissors or kitchen shears on your herbs—they crush stems and invite disease. Invest in a pair of sharp pruning shears specifically for gardening. I keep mine in a small bucket of water with a drop of dish soap to keep them clean between uses. For delicate herbs like cilantro, even small kitchen scissors work well if they're clean and sharp. The key is to make clean cuts that don't tear the plant tissue.
Post-Harvest Care: After harvesting, give your plants a deep watering to replenish moisture lost through cutting. The soil should feel damp 2-3 inches down—this encourages roots to grow deeper. I've noticed that plants watered at the base (rather than overhead) recover faster and show fewer signs of stress. Always remove any yellow or damaged leaves immediately—they're just dead weight that can harbor pests and diseases.
Pro Tips for Cut Herbs From Garden
- These precision techniques will help you harvest herbs that stay fresher longer and keep your plants thriving for sea...
- Timing is Everything: I've found that harvesting leafy herbs like basil and parsley just after morning dew has evapor...
- The Angle Matters: When cutting leafy herbs, make your snips at a 45-degree angle just above a leaf node. This isn't ...
Frequently asked questions
Got questions about harvesting your homegrown herbs like a pro?
You’re not alone—many gardeners wonder about the best timing, tools, and techniques to preserve flavor and encourage regrowth. Here are answers to the most common queries!
When is the best time of day to cut herbs for the freshest flavor?
The golden hours for harvesting are early morning after the dew has dried (around 7–9 AM). This is when essential oils—responsible for flavor and aroma—are at their peak. Avoid cutting after a heavy rain or late in the day, as flavors can be milder or even bitter.
Should I cut herbs right above a leaf node, or does it matter?
Yes, it absolutely matters! Always cut just above a leaf node (the point where leaves grow from the stem) using clean, sharp scissors or pruners. This encourages bushier growth and prevents the plant from becoming leggy. For woody herbs like rosemary or thyme, trim back by ⅓ to promote new shoots.
Can I cut herbs too much, or will my plants recover?
Herbs are resilient, but over-harvesting can stress them. Never take more than ⅓ of the plant at once, and avoid cutting into the woody center (especially in perennials like oregano or sage). If you see yellowing leaves or stunted growth, you’ve likely overdone it—give your herbs a break and focus on trimming selectively.
What’s the difference between cutting herbs for cooking vs. drying?
For cooking, harvest leaves just before they fully open (younger = more tender and flavorful). For drying, wait until leaves are mature but still vibrant—this maximizes oil content. Bundle stems together with rubber bands and hang upside down in a dark, dry place (2–3 weeks for most herbs).
My herbs are woody or flowering—can I still use them?
Woody stems (common in older herbs) are less flavorful, but you can prune them back hard to encourage new growth. For flowering herbs (like basil or cilantro), pinch off flowers immediately—this redirects energy to leaf production. If the plant is already flowering, harvest leaves quickly and replant or compost the rest.
Pro Tip:
Label your herb containers or garden beds with harvest dates to track regrowth cycles. Most herbs thrive with regular trimming (every 2–4 weeks), but perennials like thyme or oregano can handle less frequent cuts. Happy snipping!
Wrapping up and next steps
Cutting herbs from your garden doesn’t have to be intimidating—with the right tools and techniques, you’ll unlock bold, fresh flavors every time!
Now that you’re ready to elevate your herb game, why not experiment with infusions, drying, or freezing your freshly cut herbs? Try making herb butter, flavored oils, or even homemade pesto—your future dishes (and taste buds) will thank you! 🌿✨