
Propagation
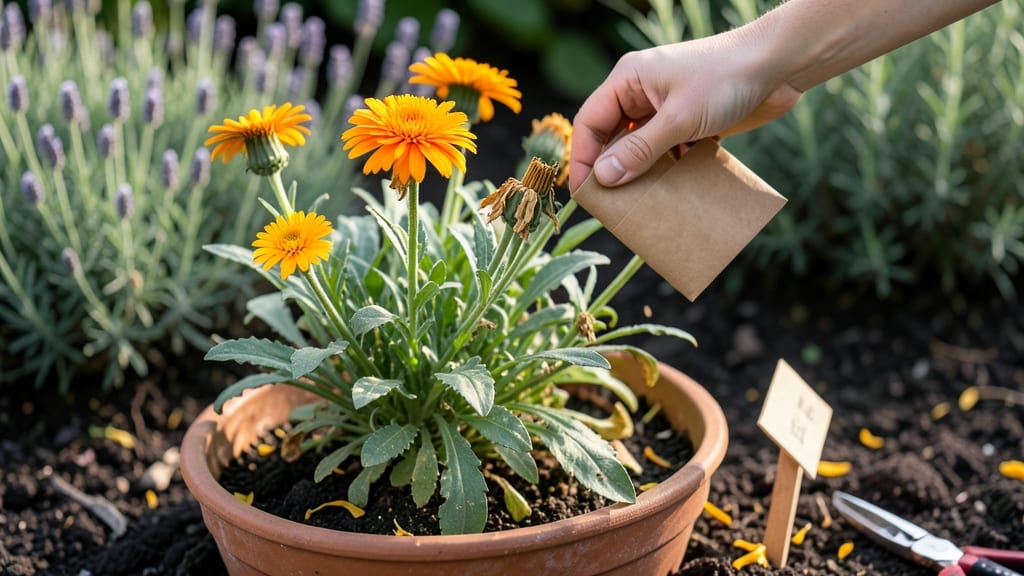
Collecting calendula seeds might seem like a simple task, but doing it right ensures you'll have vibrant 🌼 blooms thriving in next year's garden. The key to success lies in timing—harvesting at the perfect moment transforms ordinary seed heads into a treasure trove of future plants.
If you've ever wondered why some seeds fail to sprout or how to tell when they're truly ready, this guide breaks it down step by step.
From identifying mature seed pods to drying and storing them properly, I'll show you exactly what to look for and how to avoid common pitfalls that waste your hard work.
You don't need fancy equipment or years of gardening experience—just a few simple techniques and the right conditions. Let's dive into the process so you can confidently collect calendula seeds that'll grow into healthy, beautiful plants season after season.
Whether you're a beginner or a seasoned gardener looking to refine your method, these practical tips will help you maximize your seed yield. By the end, you'll know exactly when to harvest, how to dry them effectively, and where to store them for long-term viability.
When and how to harvest calendula seeds for maximum germination
Timing is everything when harvesting calendula seeds. You’ll want to collect them at the peak of maturity, just before they scatter naturally. This usually happens 60-70 days after planting, when the flower heads turn completely brown and papery.
Harvesting too early risks underdeveloped seeds, while waiting too long means losing them to wind or wildlife.
Start by selecting the healthiest seed heads—look for those that are fully brown with no remaining green stems. Gently squeeze the dried flower head; if seeds rattle inside, they’re ready.
Avoid heads with mold or pests, as these can compromise seed viability. I always harvest on a dry, sunny morning to minimize moisture exposure.
Use clean, sharp pruning shears or your fingers to snip or pinch off the entire seed head. Be careful not to damage the main plant, as calendula is an annual in most climates.
Place the harvested heads in a paper bag or breathable container to allow airflow while preventing seed loss. Label each bag with the variety name and harvest date for future reference.
Seasonal timing matters too. In USDA Zone 6a, I harvest calendula seeds from late summer to early fall (August–September), before the first frost. In warmer zones, extend harvesting into October. If frost threatens, bring seed heads indoors to finish drying on a cool, dry surface.
Here’s a quick visual guide to help you identify the perfect harvest moment:
| Stage | Appearance | Action |
|---|---|---|
| Early Bloom | Bright petals, green stems | Wait 45-60 days |
| Peak Bloom | Petals wilt, stems brown | Monitor for drying |
| Seed Ready | Dry, papery, seeds rattle | Harvest immediately |
| Overripe | Seeds scatter, head crumbles | Too late—discard |
One common mistake is harvesting seeds from hybrid varieties, which may not reproduce true to type. Stick to open-pollinated calendula like ‘Bonanza’ or ‘Moonlight’ for reliable seeds. If you’re unsure, ask your local nursery or check seed packets for “open-pollinated” labels.
After harvesting, remove excess debris like stems or petals to avoid mold. Store the clean seed heads in a cool, dry place (like a pantry) for 1-2 weeks before processing. This extra drying step ensures higher germination rates and prevents rot during storage.
Pro tip: If you’re short on time, you can accelerate drying by placing seed heads in a paper bag with a fan on low for 24 hours. Just avoid direct heat, which can damage seed viability. Always prioritize gentle, natural drying for the best results.
Finally, test a few seeds before storing the rest. Place 10 seeds on a damp paper towel in a sealed bag, then check for sprouting in 7-14 days. If germination is below 80%, your seeds may need longer drying or better storage conditions.
Step-by-step drying methods to preserve calendula seed viability
Once you’ve harvested your calendula seed heads, proper drying is critical to prevent mold and maintain germination rates. Humidity and airflow are your best friends here—aim for a cool, dry space with good ventilation.
I’ve found that indoor drying works best in my climate, but outdoor methods can also work if protected from rain.
Never rush drying by using heat sources like ovens or heaters—this can kill seed viability. Instead, focus on gentle, consistent airflow. The goal is to reduce moisture to 10% or less before storage. This typically takes 1-2 weeks, depending on your environment.
How to Dry Calendula Seeds
- 1. Bundle & Hang: Tie 5-10 seed heads together with twine and hang upside down in a well-ventilated area (e.g., porch, garage, or basement). This mimics natural drying conditions.
- 2. Paper Bag Method: Place dry seed heads in a brown paper bag (not plastic!) and seal loosely. Store in a cool, dark place for 1-2 weeks. The bag traps moisture for even drying.
- 3. Open-Air Trays: Spread seed heads on a wire mesh tray in a shaded, breezy spot. Stir occasionally to ensure even drying. Ideal for warm, dry climates.
- 4. Humidity Check: After 1 week, gently squeeze a seed head. If it feels dry and papery, it’s ready. If still damp, extend drying by 3-5 more days.
- 5. Final Test: Shake seeds from a dried head into your hand. If they rattle and feel crisp, they’re ready for storage. Discard any heads with green or moldy spots.
If you live in a humid climate, consider using a dehumidifier or silica gel packets near your drying area. I’ve had the best luck with a small fan blowing gently over the seed heads to speed up the process without overheating them.
Once fully dry, store seeds in paper envelopes or glass jars with a desiccant packet to absorb any lingering moisture. Label each with the variety name and harvest year—this saves headaches later when you’re ready to plant!
Remember, patience is key. Rushing the drying process can lead to low germination rates or even seed loss. Take your time, and your calendula seeds will reward you with vibrant blooms next season. 🌾